I am building a set of freelance 4 wheeled coaches bought at the Gauge I show in Swindon last year which were reasonably affordable at £25 per carriage, albeit not including the cost of any wheels.
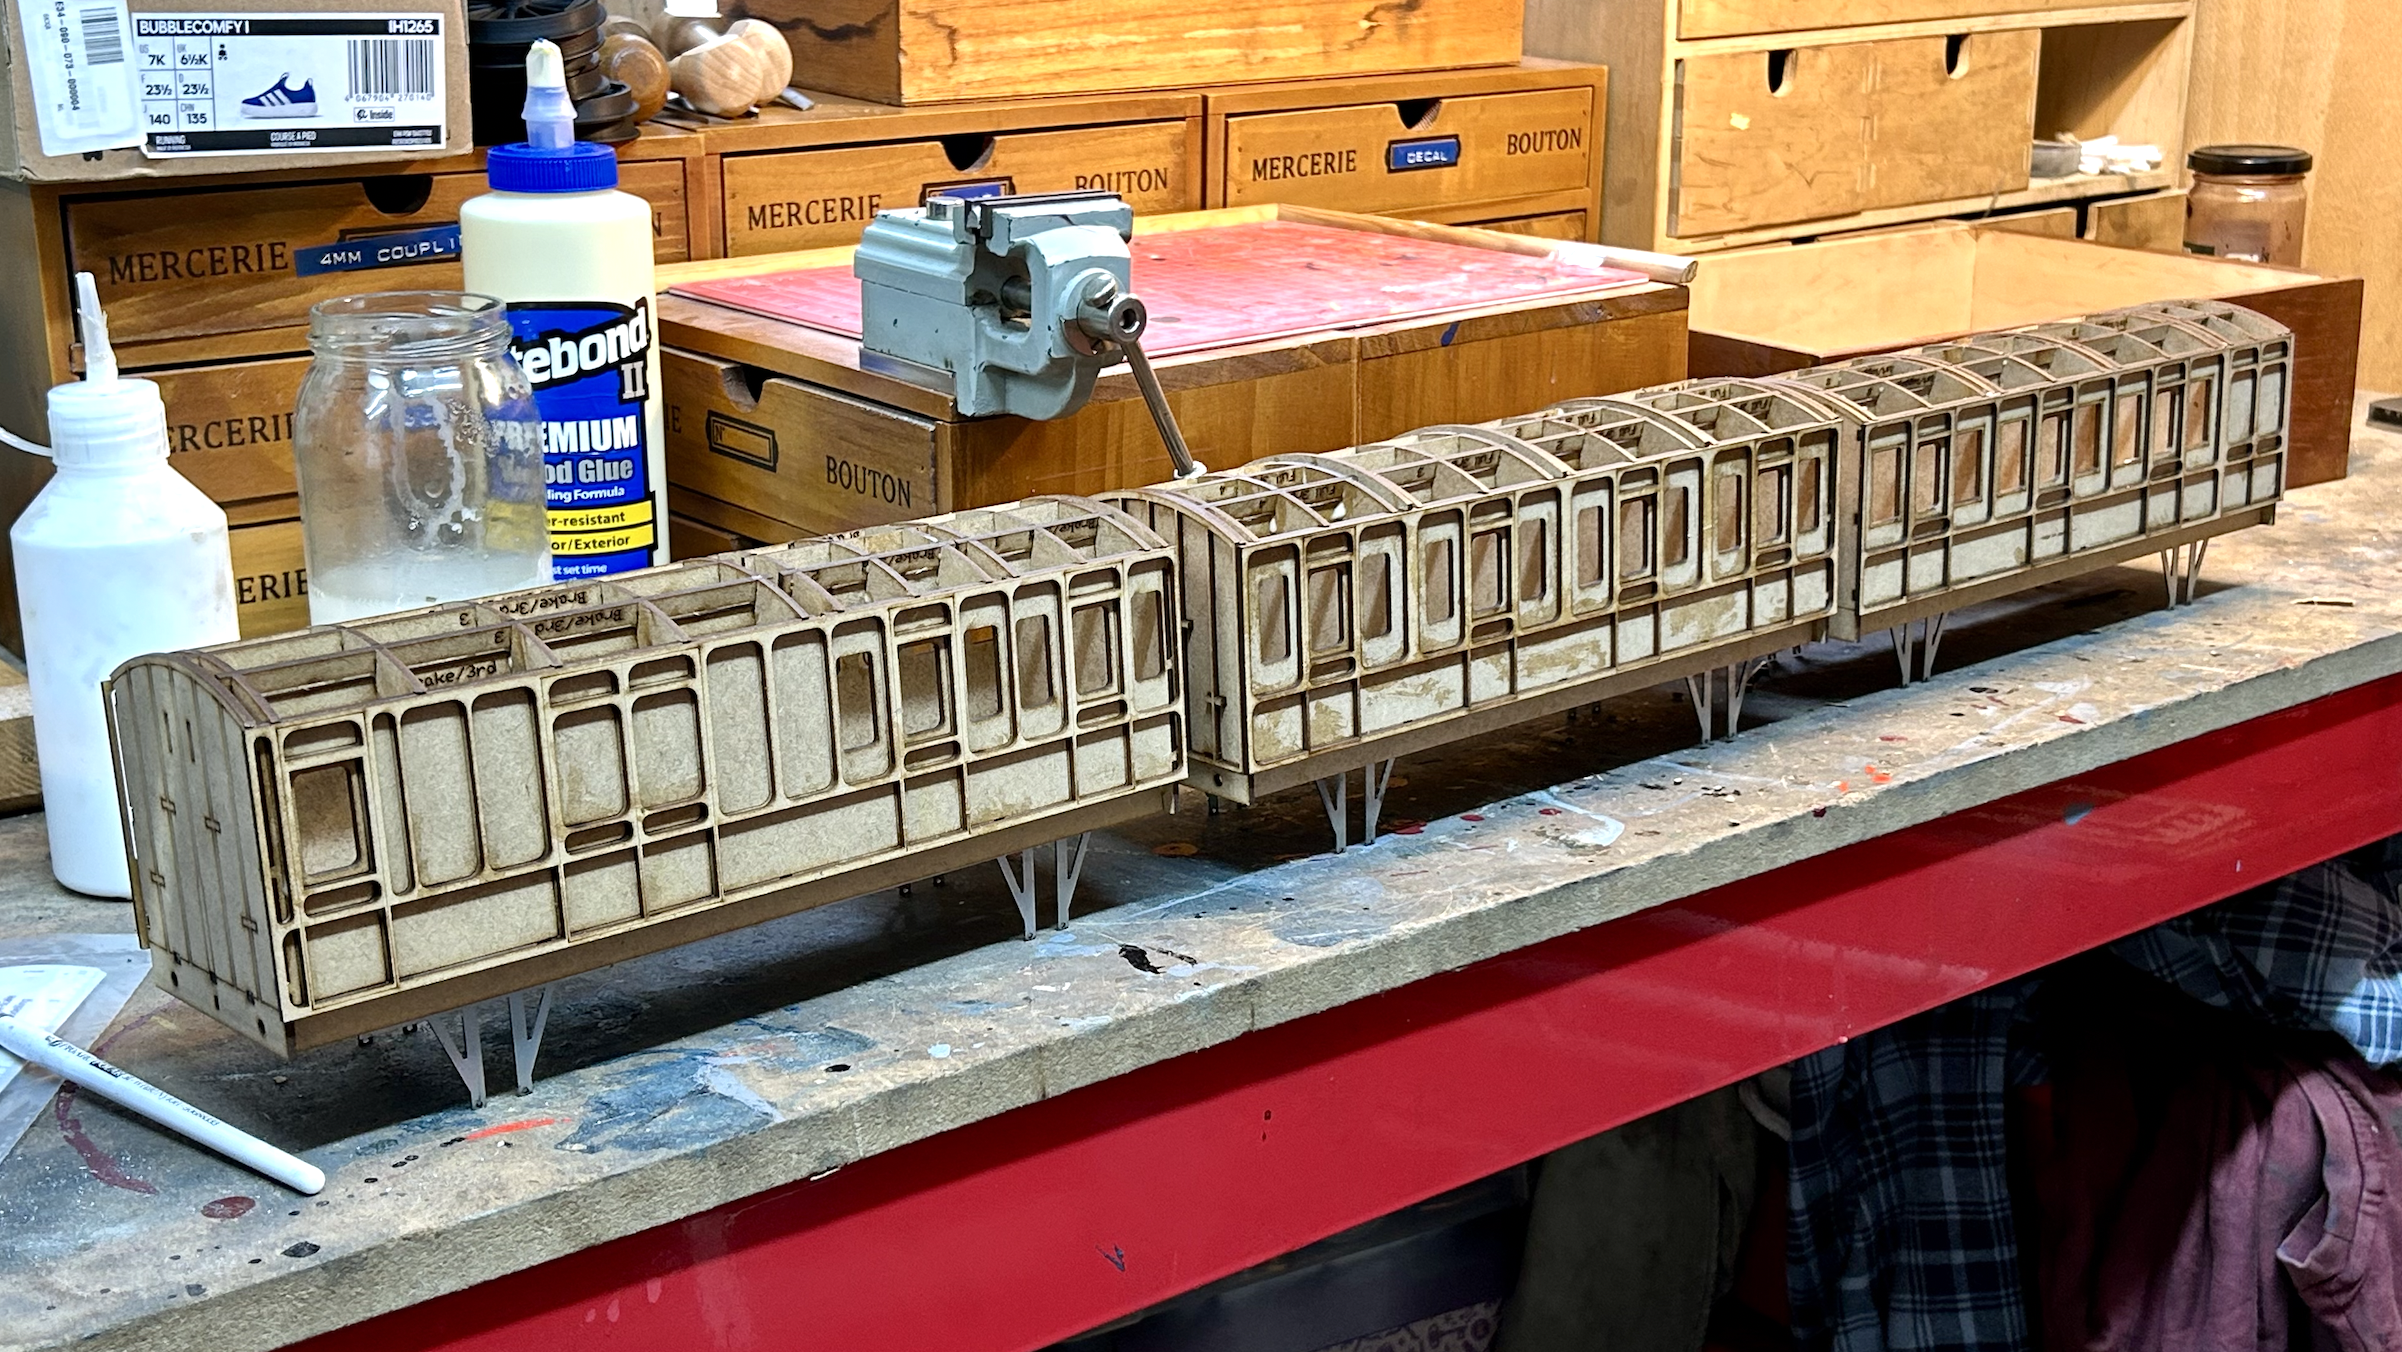
Constructing the Bodies

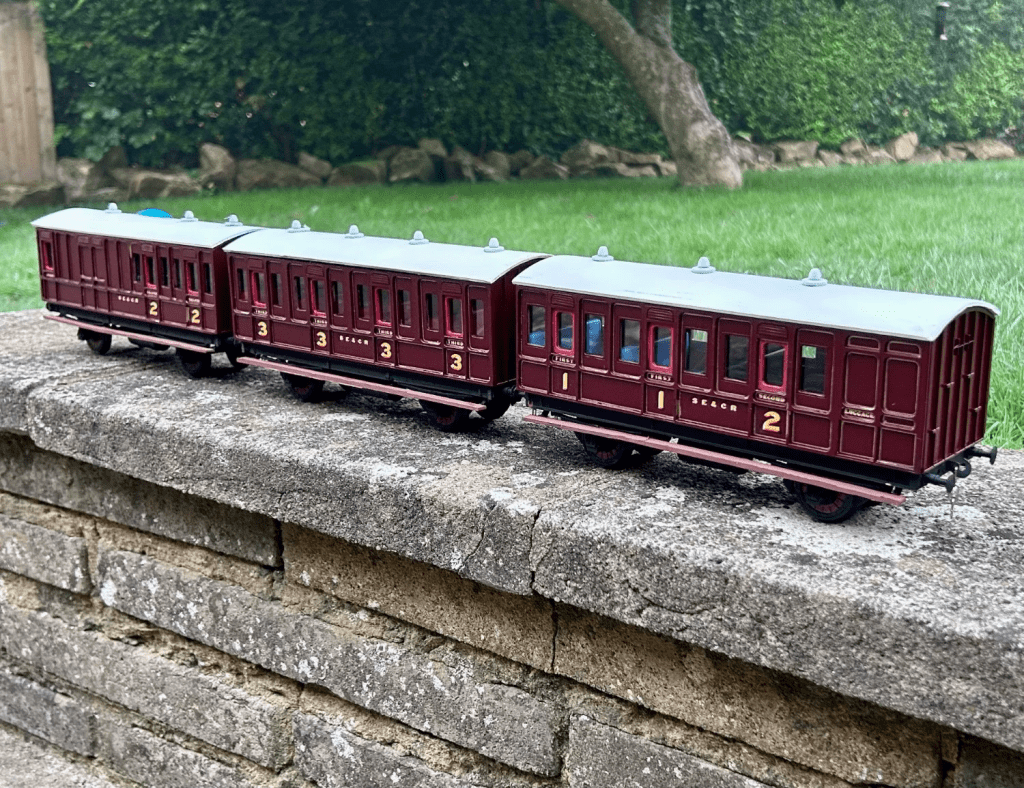
Ken West kits produced these carriages to use up a chassis produced for a brake van and so do not represent a specific prototype, the biggest tell is that these coaches have curved bolections/trim but do not have any kind of tumblehome, they are approximately 16′ wheelbase with a 25’6″ body.
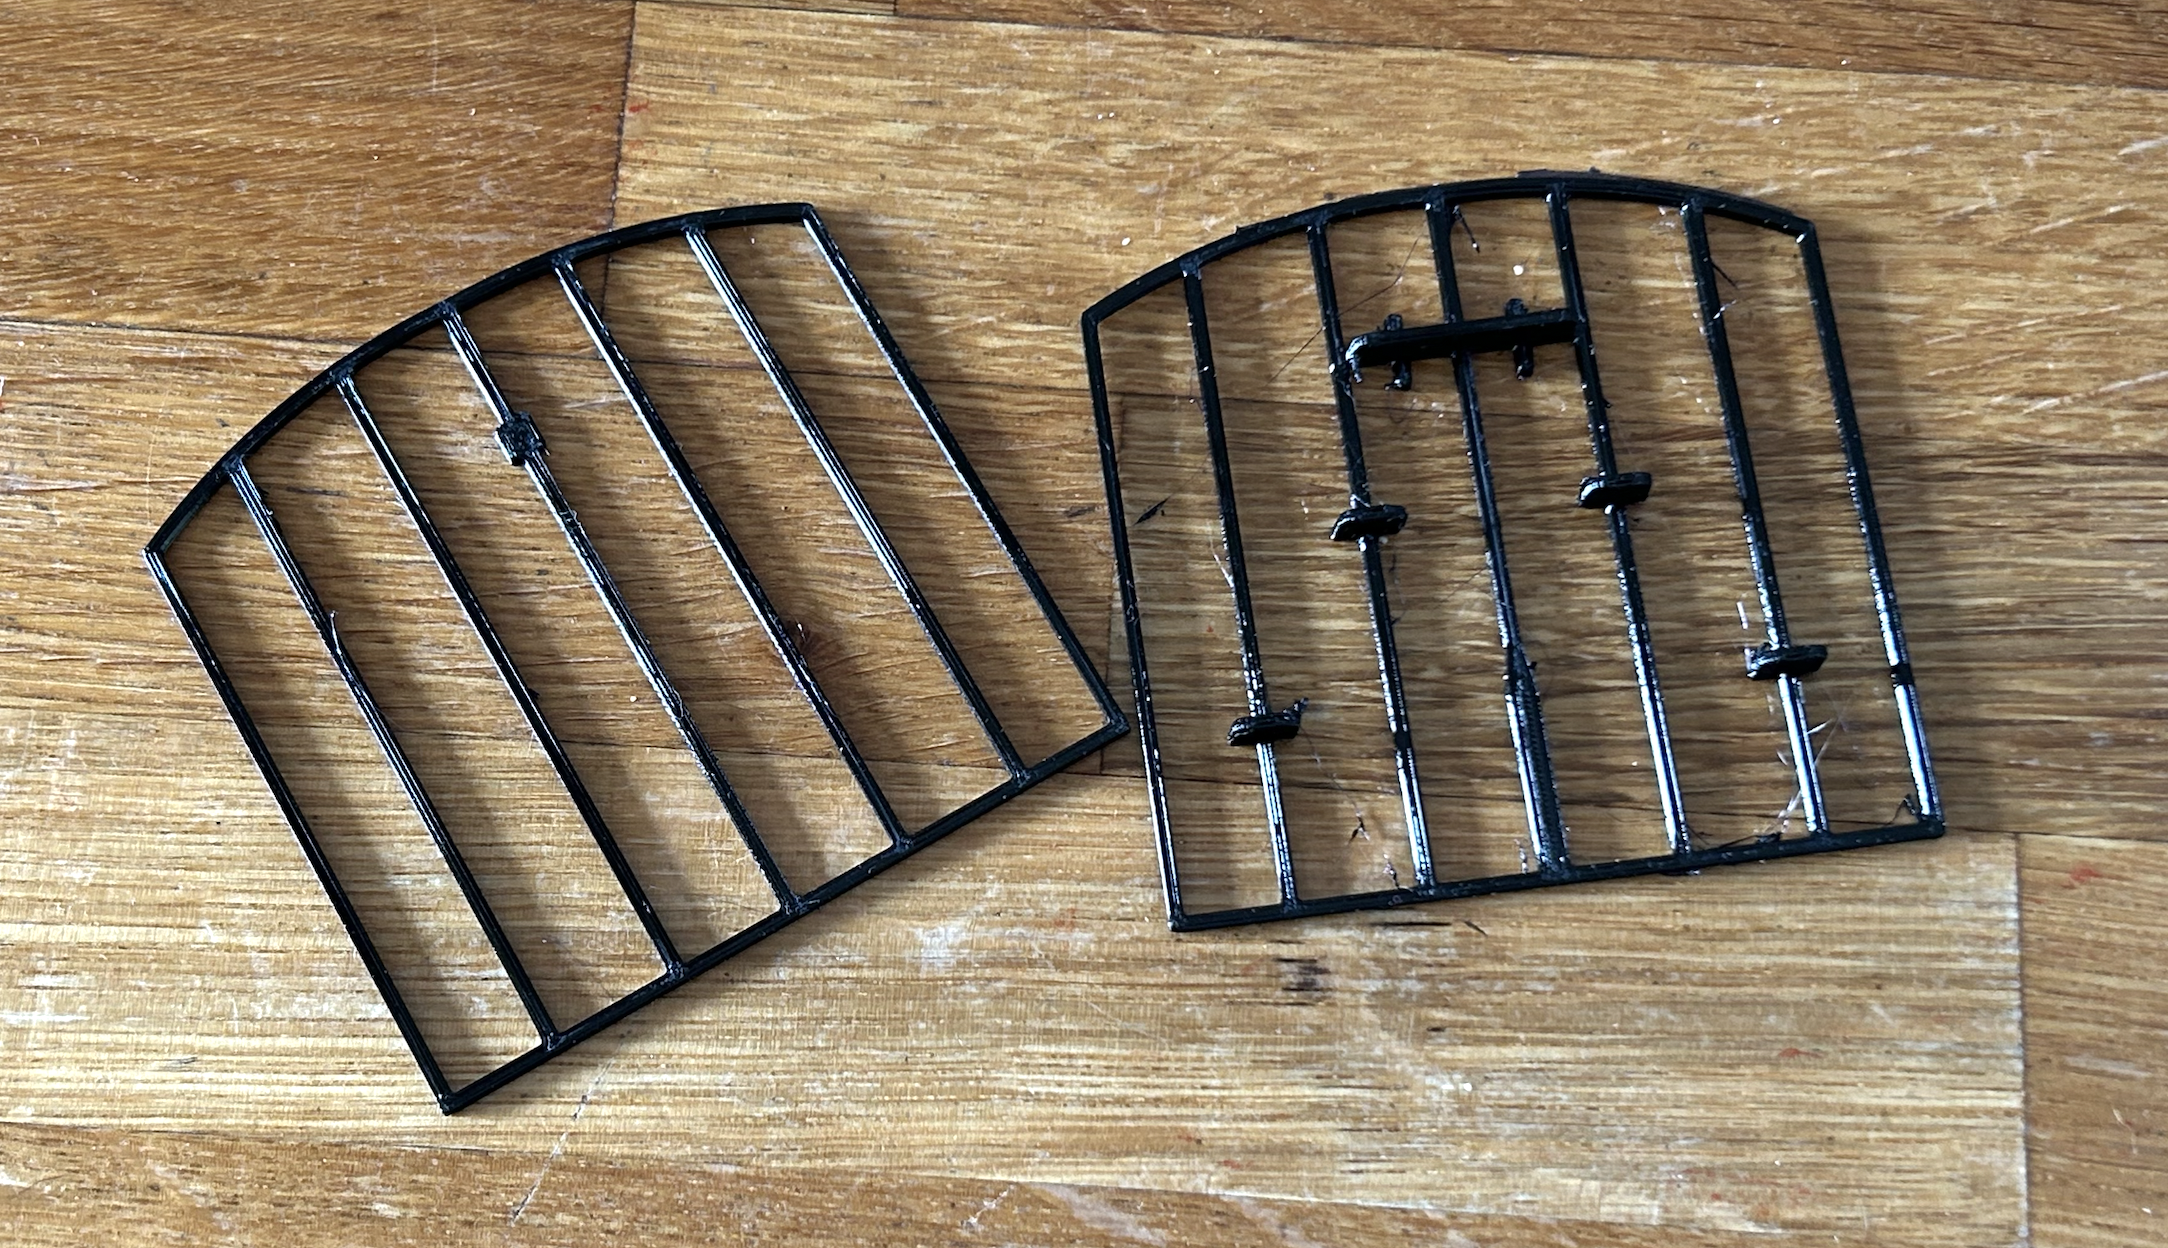
Missing the end moulding pieces out of one carriage and two of the others being torn in the packet was a bit of a shame – I was able to re-create them using my 3-D printer and have printed them out using PETG filament.
The roof of the carriages are also 1.5mm ply with lots of zig-zag cuts to increase flexibility – the internal framing was built and dry-installed into the carriage body, then glue applied to the top surface and the roof elastic-banded on top.
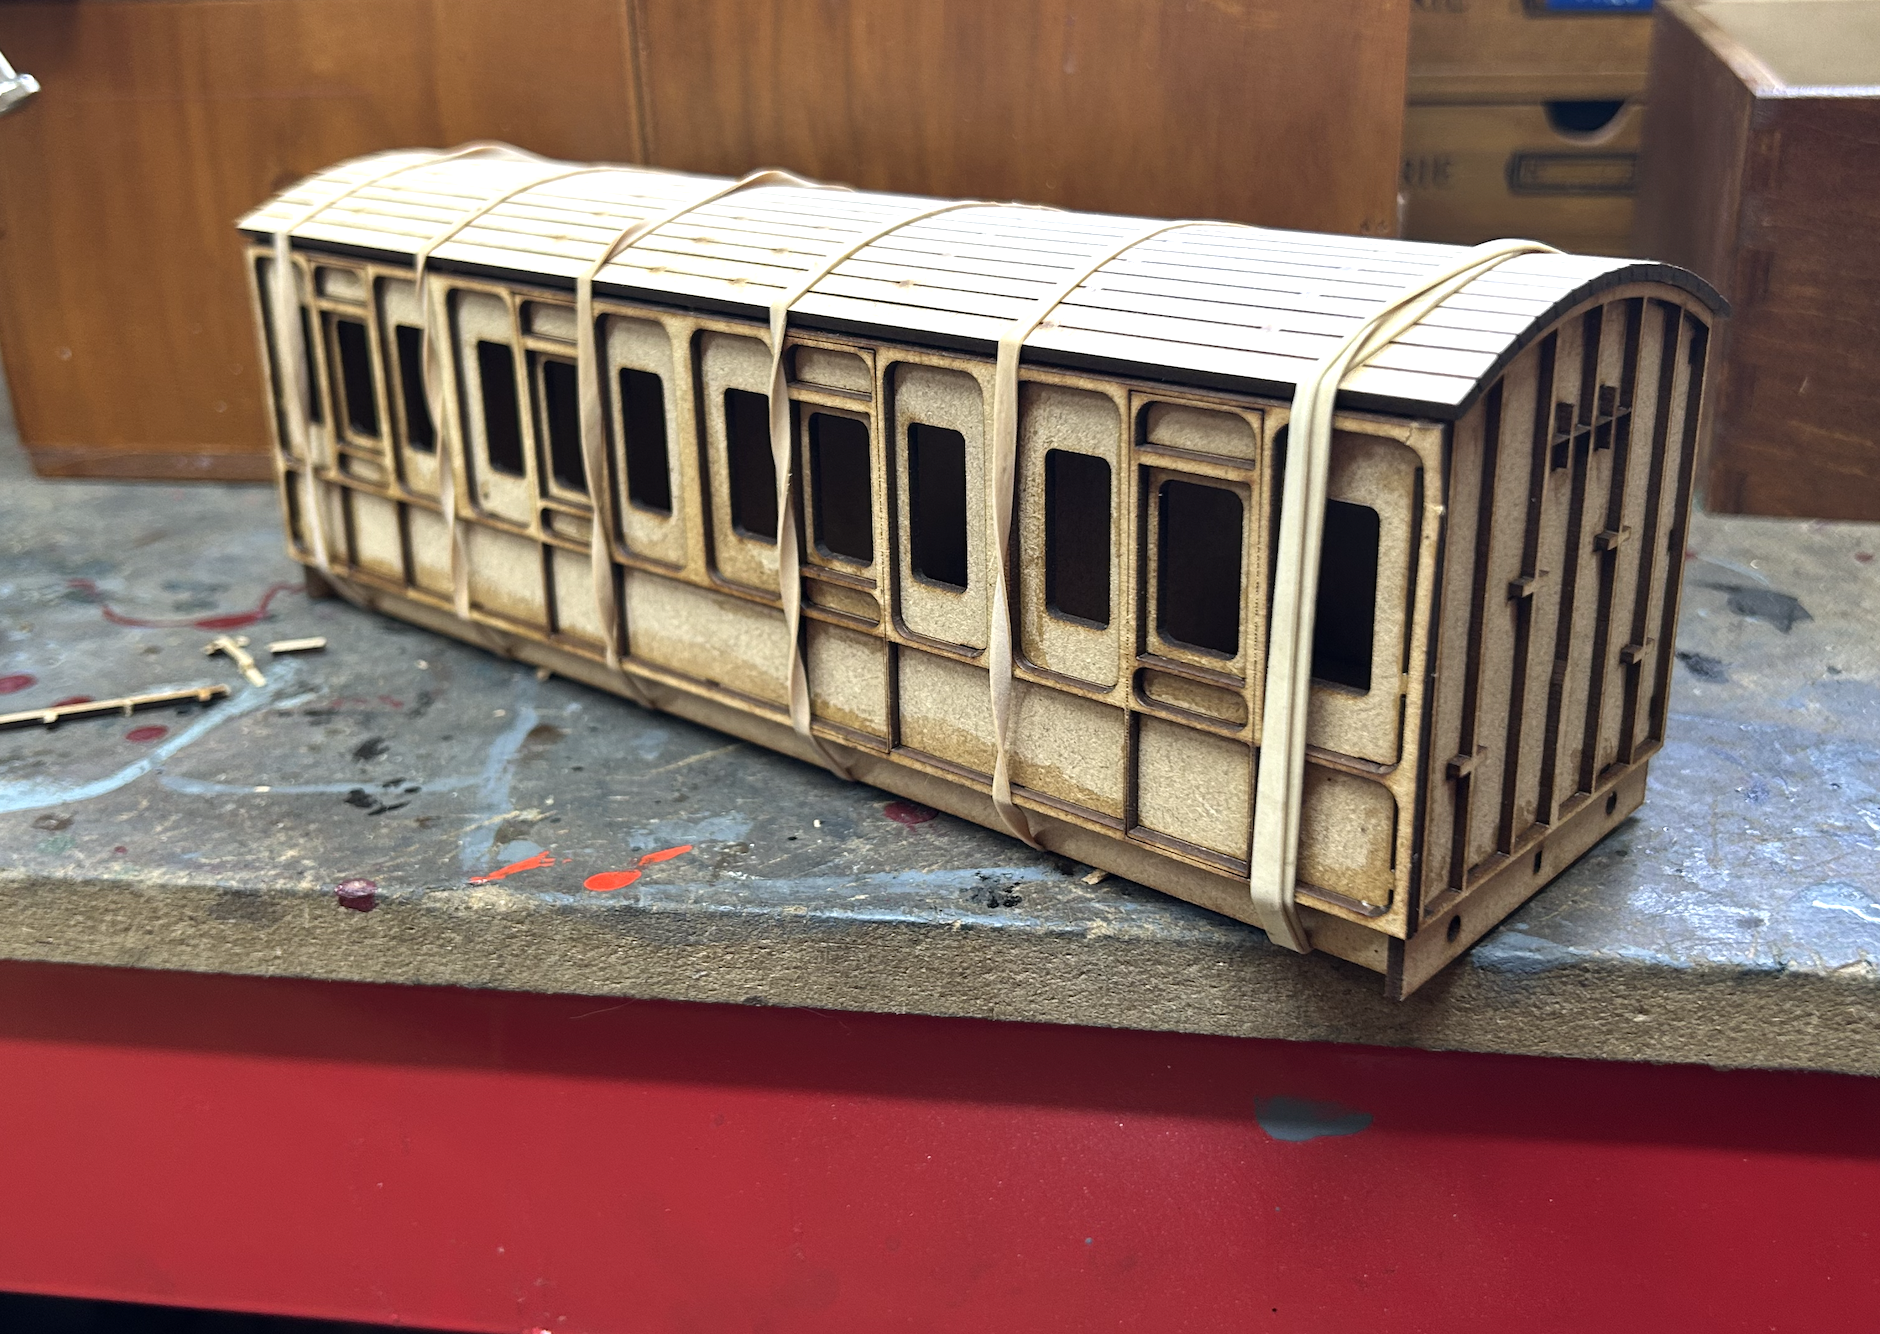
My elastic bands aren’t quite as strong as they could be, so it did require some extra clamping emphasis – but broadly they’re working as intended with only minor glue and clamping after removal.
The roofs were covered with 2-part car body filler and sanded down, then sprayed with matt white aerosol. The white lead paint used for roofs would quickly darken to a brown-grey, but I want these to look relatively fresh.
Painting the Bodies
Never having had such large MDF kits to build I was concerned about the material, and so have used Hycote Automotive Filler Primer as a first layer to provide a non-soluble barrier between the MDF and any top coats. It doesn’t have quite the same effect as the spray putty I normally use, but should hopefully tide me over.

I am reliably informed that this style of moulding is found on LNWR, SER, FR, and B&NCR – and the SER/SECR being a local line definitely works for me: sharing a dark claret / purple lake colour scheme from approximately 1885 until the adoption of Wellington Brown as a WW1 austerity measure.
I am also reliably informed that Citroen Opera Rouge is a good colour match for this in aerosol form, soa quick dusting of red oxide undercoat to help with coverage and this is what resulted:

Underframes
The Kevin West kits aren’t exactly highly detailed – there’s nothing at all on the solebars, and the underframes are bent-up pieces of laser cut steel, with no provision for locating axleboxes, nothing to retain the axleboxes in the W-irons, no underframe detail at all.
Had I the benefit of forethought I would probably have simply used the wonderful 4w freelance coaches from G1-3D.uk by Mr. P. Jackman, but at least using the underframes from this model gives the model a real uplift.
The bodies by Mr. Jackman include gas cylinder reservoirs and piping, three point suspension, printed coupling hooks and buffers and even wheels. My own experience with printed wheels isn’t great, and since I bought wheelsets to use with the original underframes provided for the kit, they were a natural fit here.
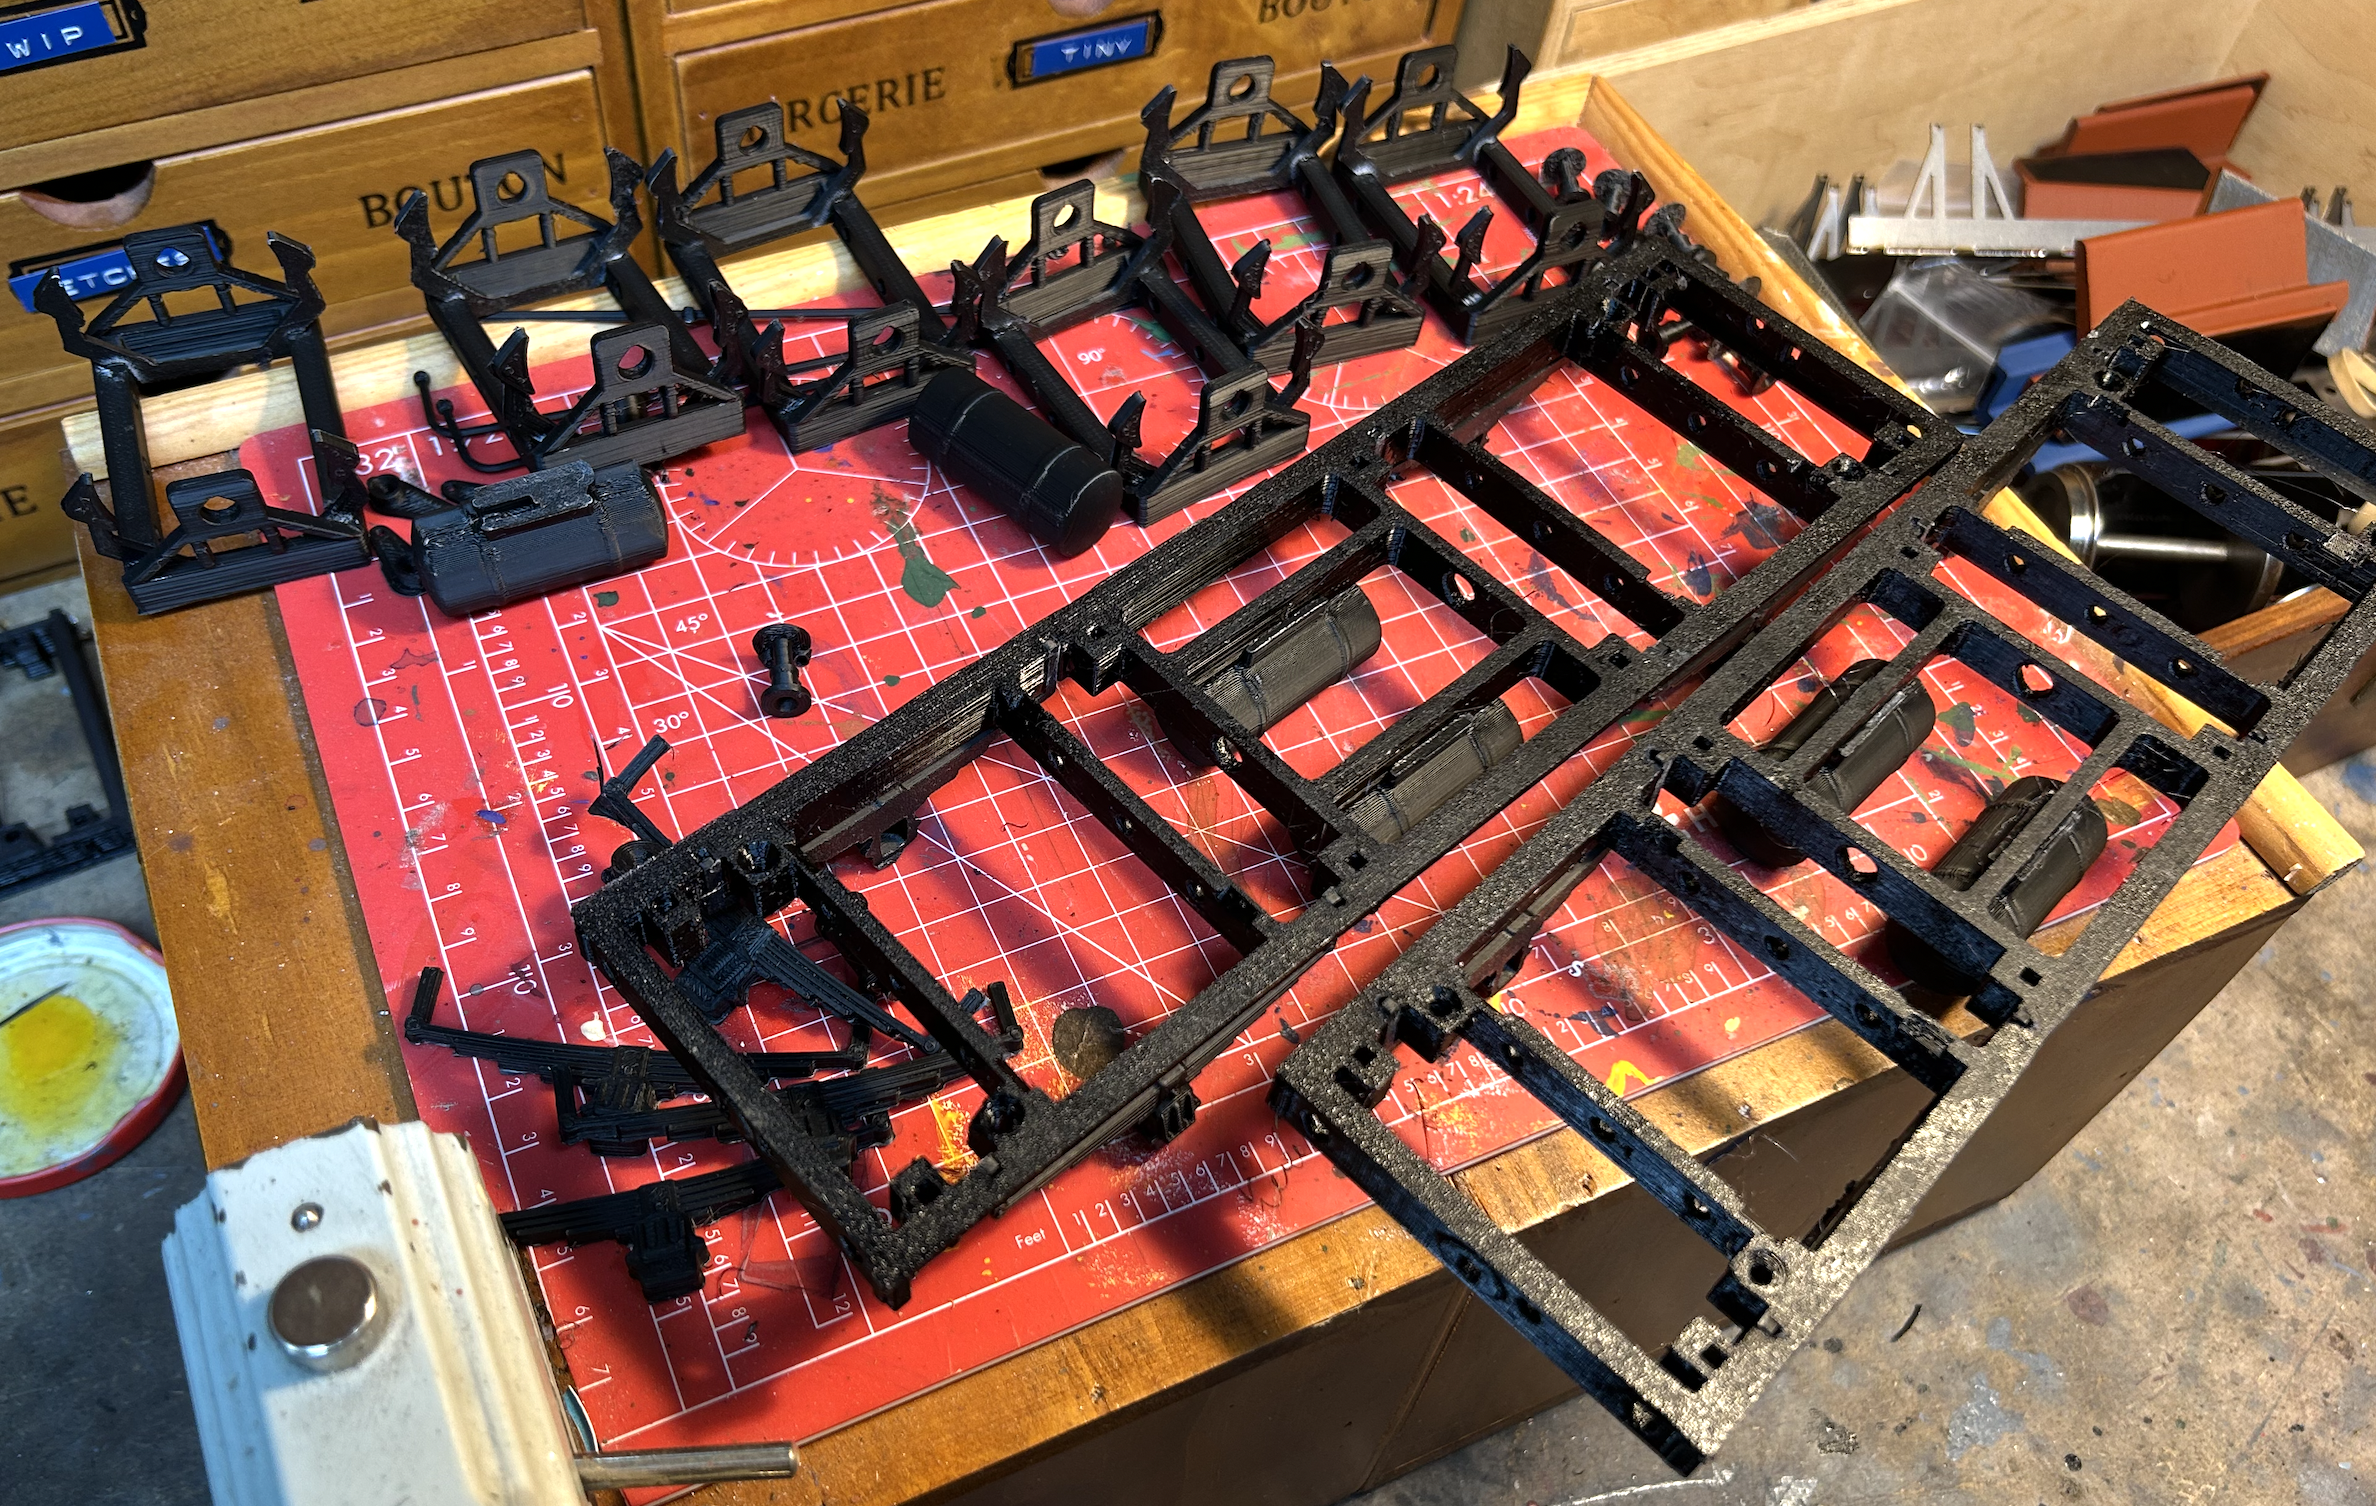
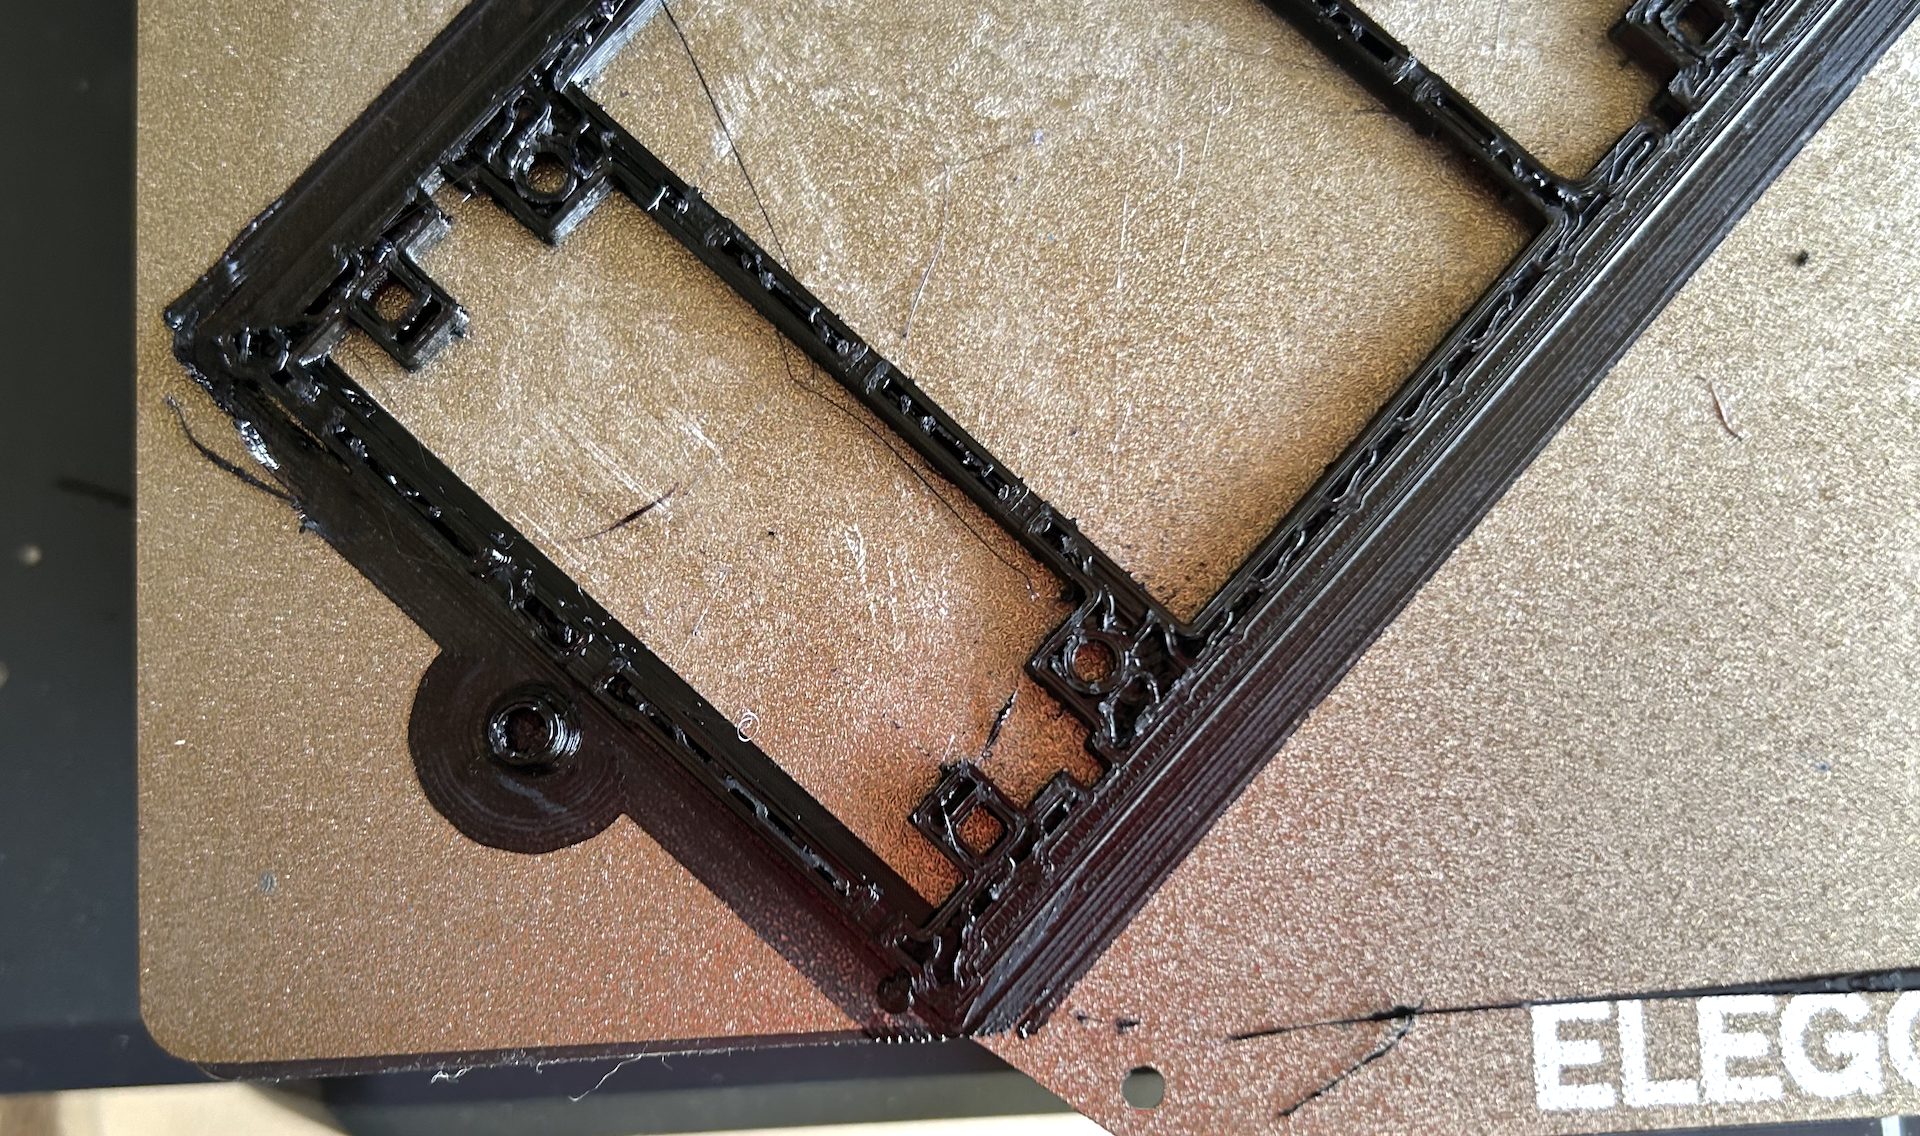
Mr. Jackman (and indeed, many G1-3D users) prefer PETG filament for printing, and it’s something I’m slowly getting used to – it prints at less than 1/3rd the speed of PLA and has many more problems with bridging and overhangs. After quite a few false starts, I decided to simply use PLA and ensure that any PLA-parts aren’t fixed to MDF/PETG with adhesive, so can be replaced in the event of a failure.
Unfortunately the footboards are very fragile, with corners perpendicular to the print angle which makes them incredibly easy to snap and quite a few exploded during assembly – reinforcement with superglue was definitely required.
Wheels
Getting these carriages on their feet was the next major obstacle – the original design specifies a rather complex arrangement for axles – 3D printed wheels with a hollow spacer between, a length of 3mm brass tube as an axle through the middle, a pair of MR63ZZ roller bearings onto the. outside of the wheel hubs, and captured with a pair of countersunk screws into the ends of the axle.
The slight challenge here is that brass tube is rarely 100% round, and even less likely to be so after cutting – and the bores for the bearings are really very tight indeed with no flexiblity at all. This results in a great running once the parts are assembled, but a little fiddly to get together and I managed to bend one of the axles so that is a little wobbly.
Final Assembly and Transfers
The underframes and bodies, being from two separate carriage kits didn’t align, so I spotted through with a 2.5mm drill, opened out the underframe holes to 3.2mm and then screwed together with M3 bolts.
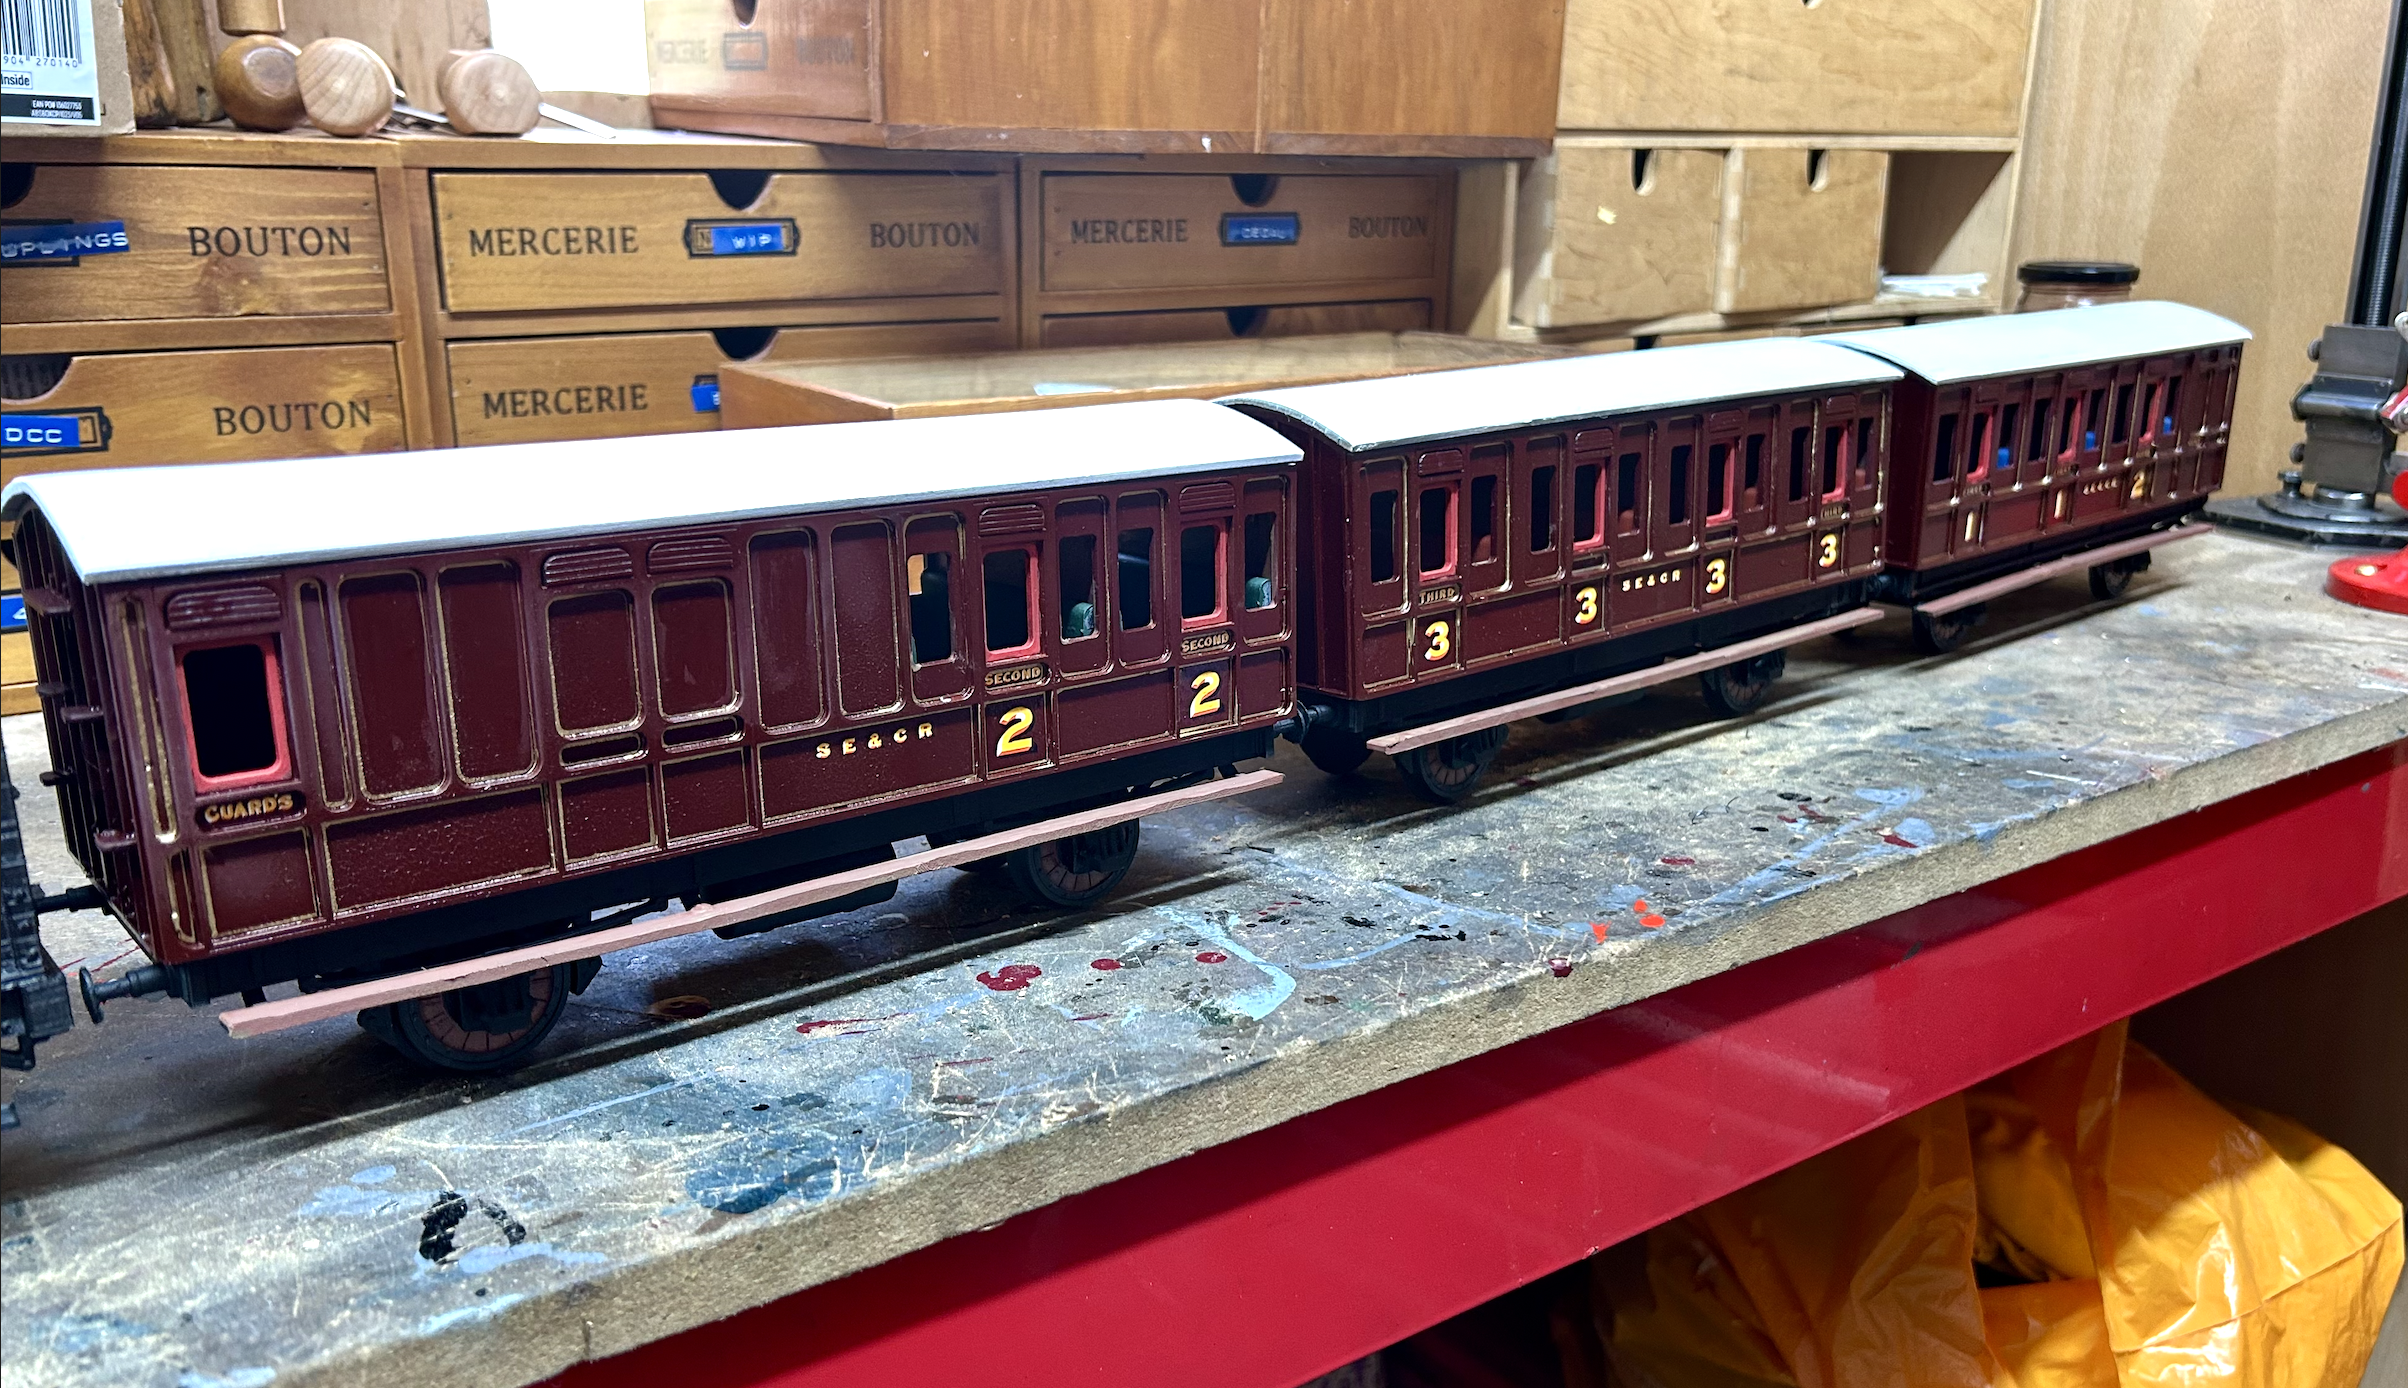
The decals for the carriages are from Fox Transfers – pricey but well done.
While there are printed hooks and chains available in the STL files for the underframe, I have so little luck printing with PETG (and such little toughness with PLA) that I decided to go with Walsall Model Industries three-link couplings. Not strictly correct, but robust and functional.
Glazing is 0.5mm clear styrene sheet fixed in with Glue’n’Glaze

The finished models are as such a bit of a dog’s breakfast of parts, designs, paint and materials – but I think they look reasonable enough to click-clack around the Christmas Tree!

You must be logged in to post a comment.