The SECR 2-Plank ballast wagon lasted a very long time, from the mid 1910’s through to the 1970’s – as a result, it has been produced by Rapido in 4mm, but also as an STL by Steve Robertson and uploaded to G1-3D.uk here.
Assembly is relatively straightforward after printing in PETG filament and assembling with either superglue or contact adhesive.
Brake Gear
At the time there was no brake gear available, so I modelled my own from scratch, having learned some (but clearly not enough) lessons from the brake gear on my SECR Box Van – namely that producing something printable is at least as important as accuracy of design.
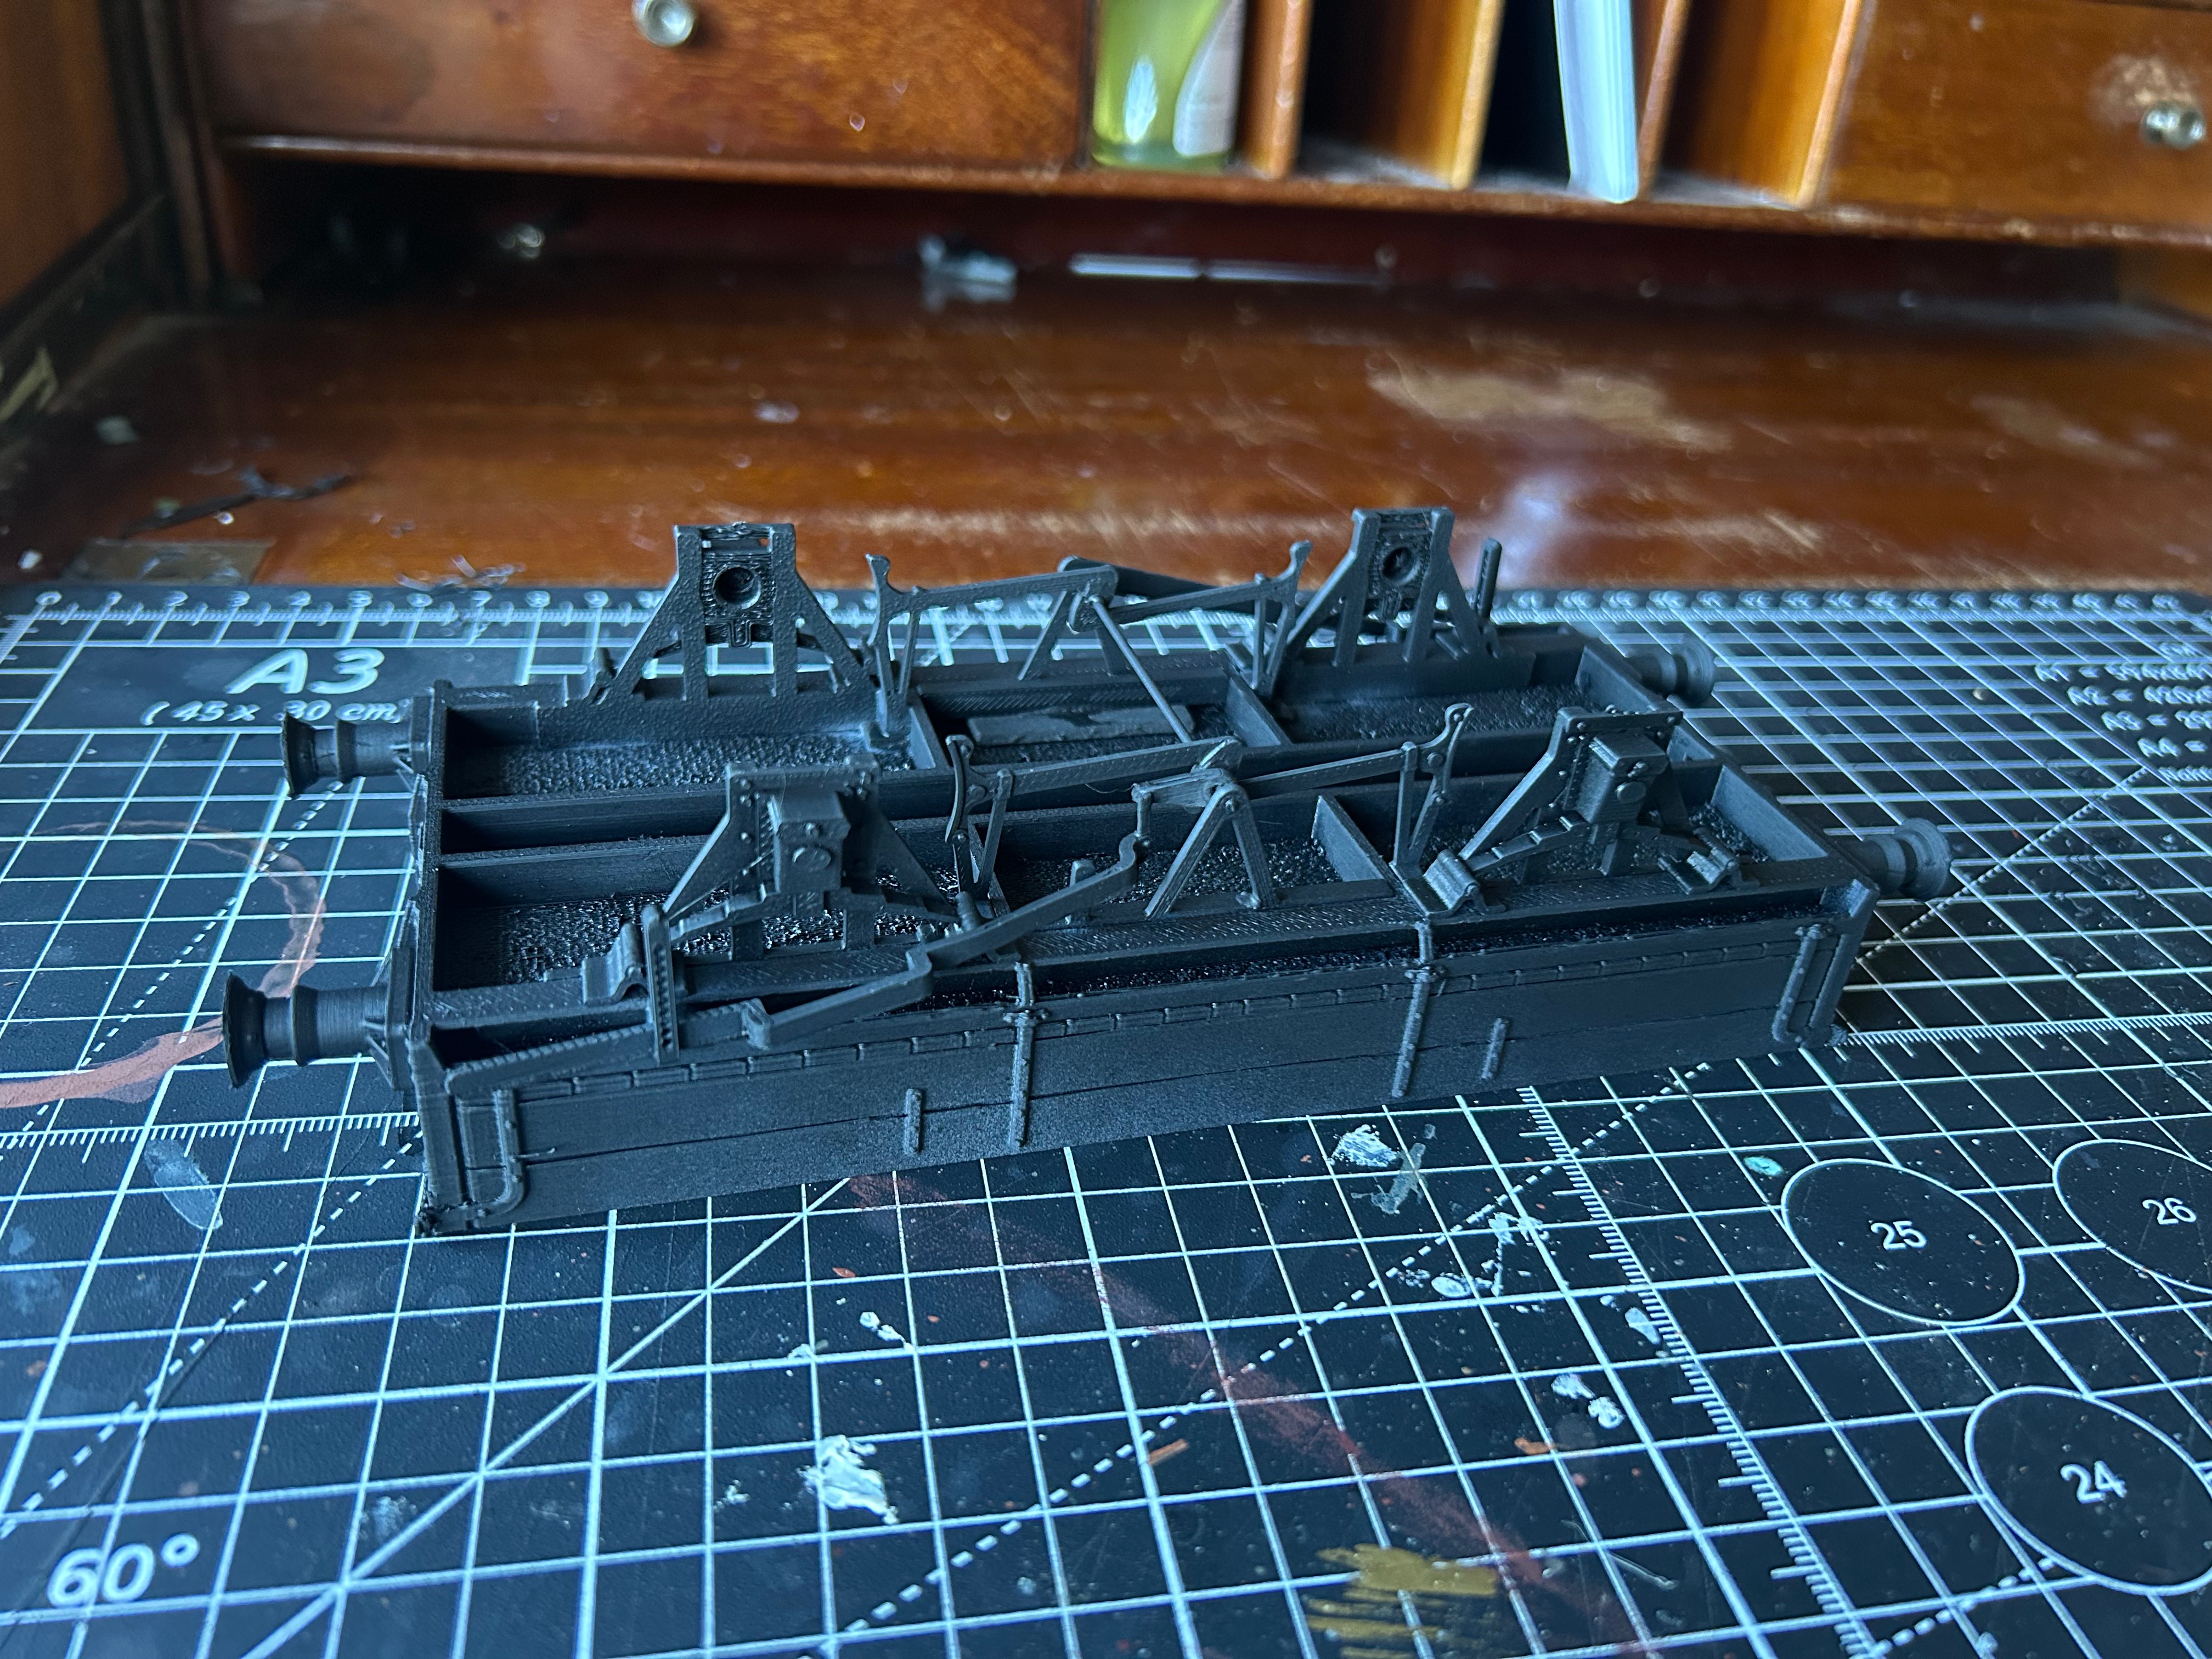
Of course, once I pointed this out Steve quickly uploaded his brake designs making the value of my efforts simply in the learning experience – and I used some of the parts on the SECR-liveried wagon.
Wheels
I have designed and printed my own set of wheels and axle sleeves for 1 Gauge, suitable for 3mm or 1/8″ silver steel axles in either ball bearings, or solid brass, and so I used those for these pair of wagons: https://www.g1-3d.uk/model/wagon-wheels-g1mra-profiles.
I tend to prefer solid brass bearings with a looser rolling fit, such as those supplied with Slaters metal wheelsets.
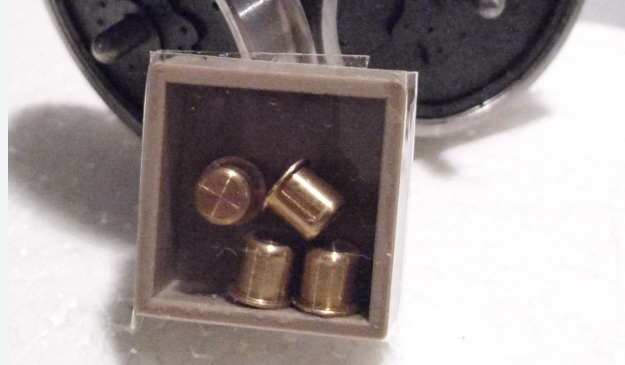
These are not cheap, and if the W-iron design of a given wagon supports it, I much prefer to use nylon bearings – but in this case one can turn their own from a piece of 1/4″ brass or purchase from Slaters.
Painting
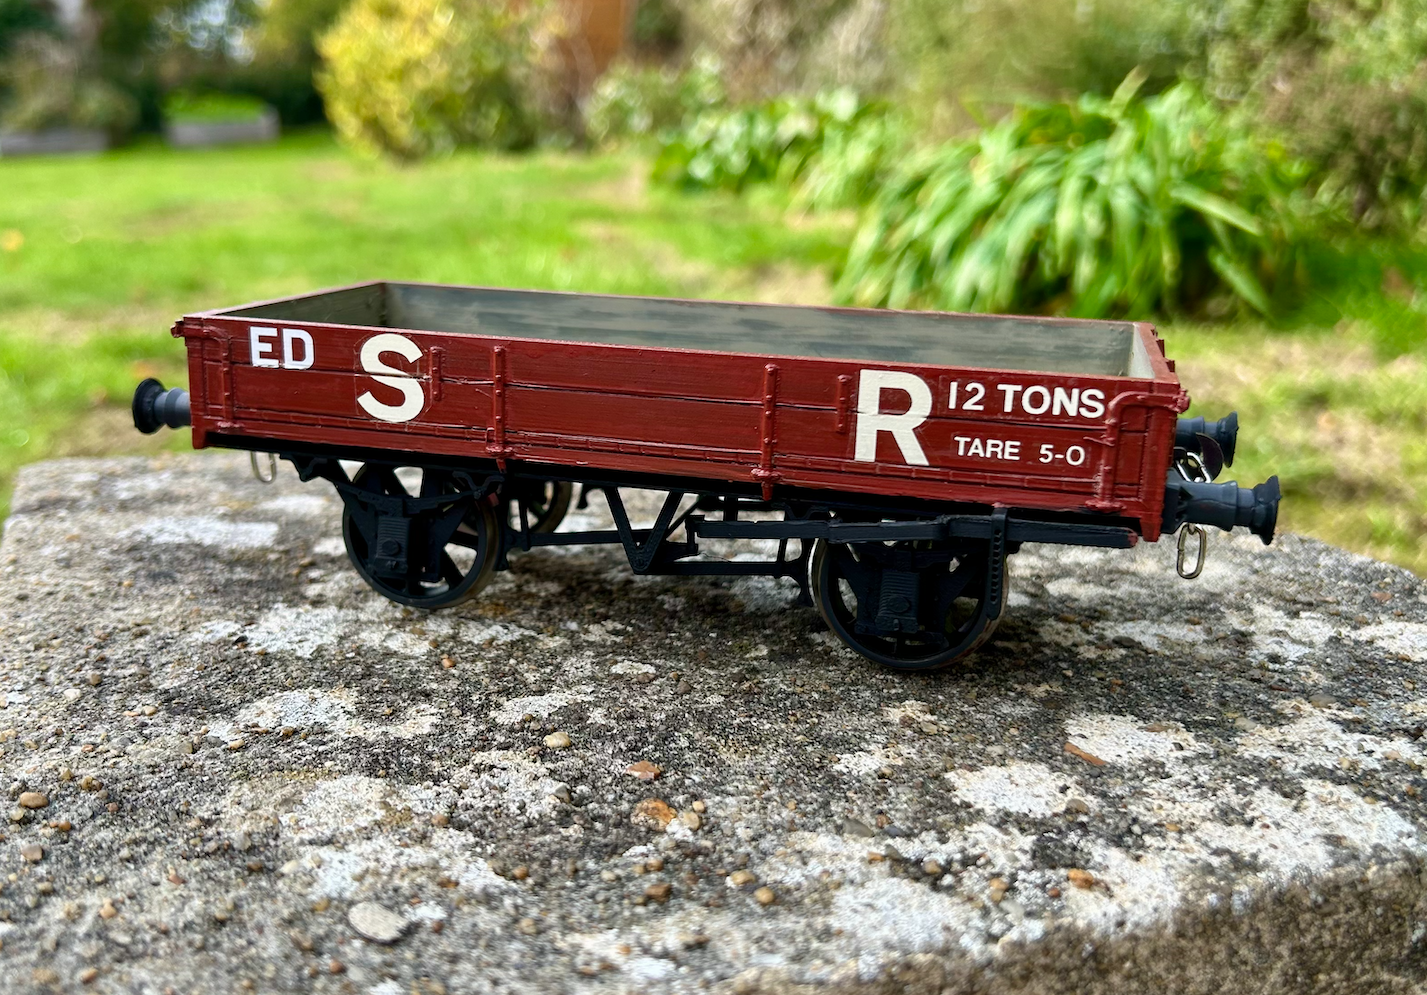
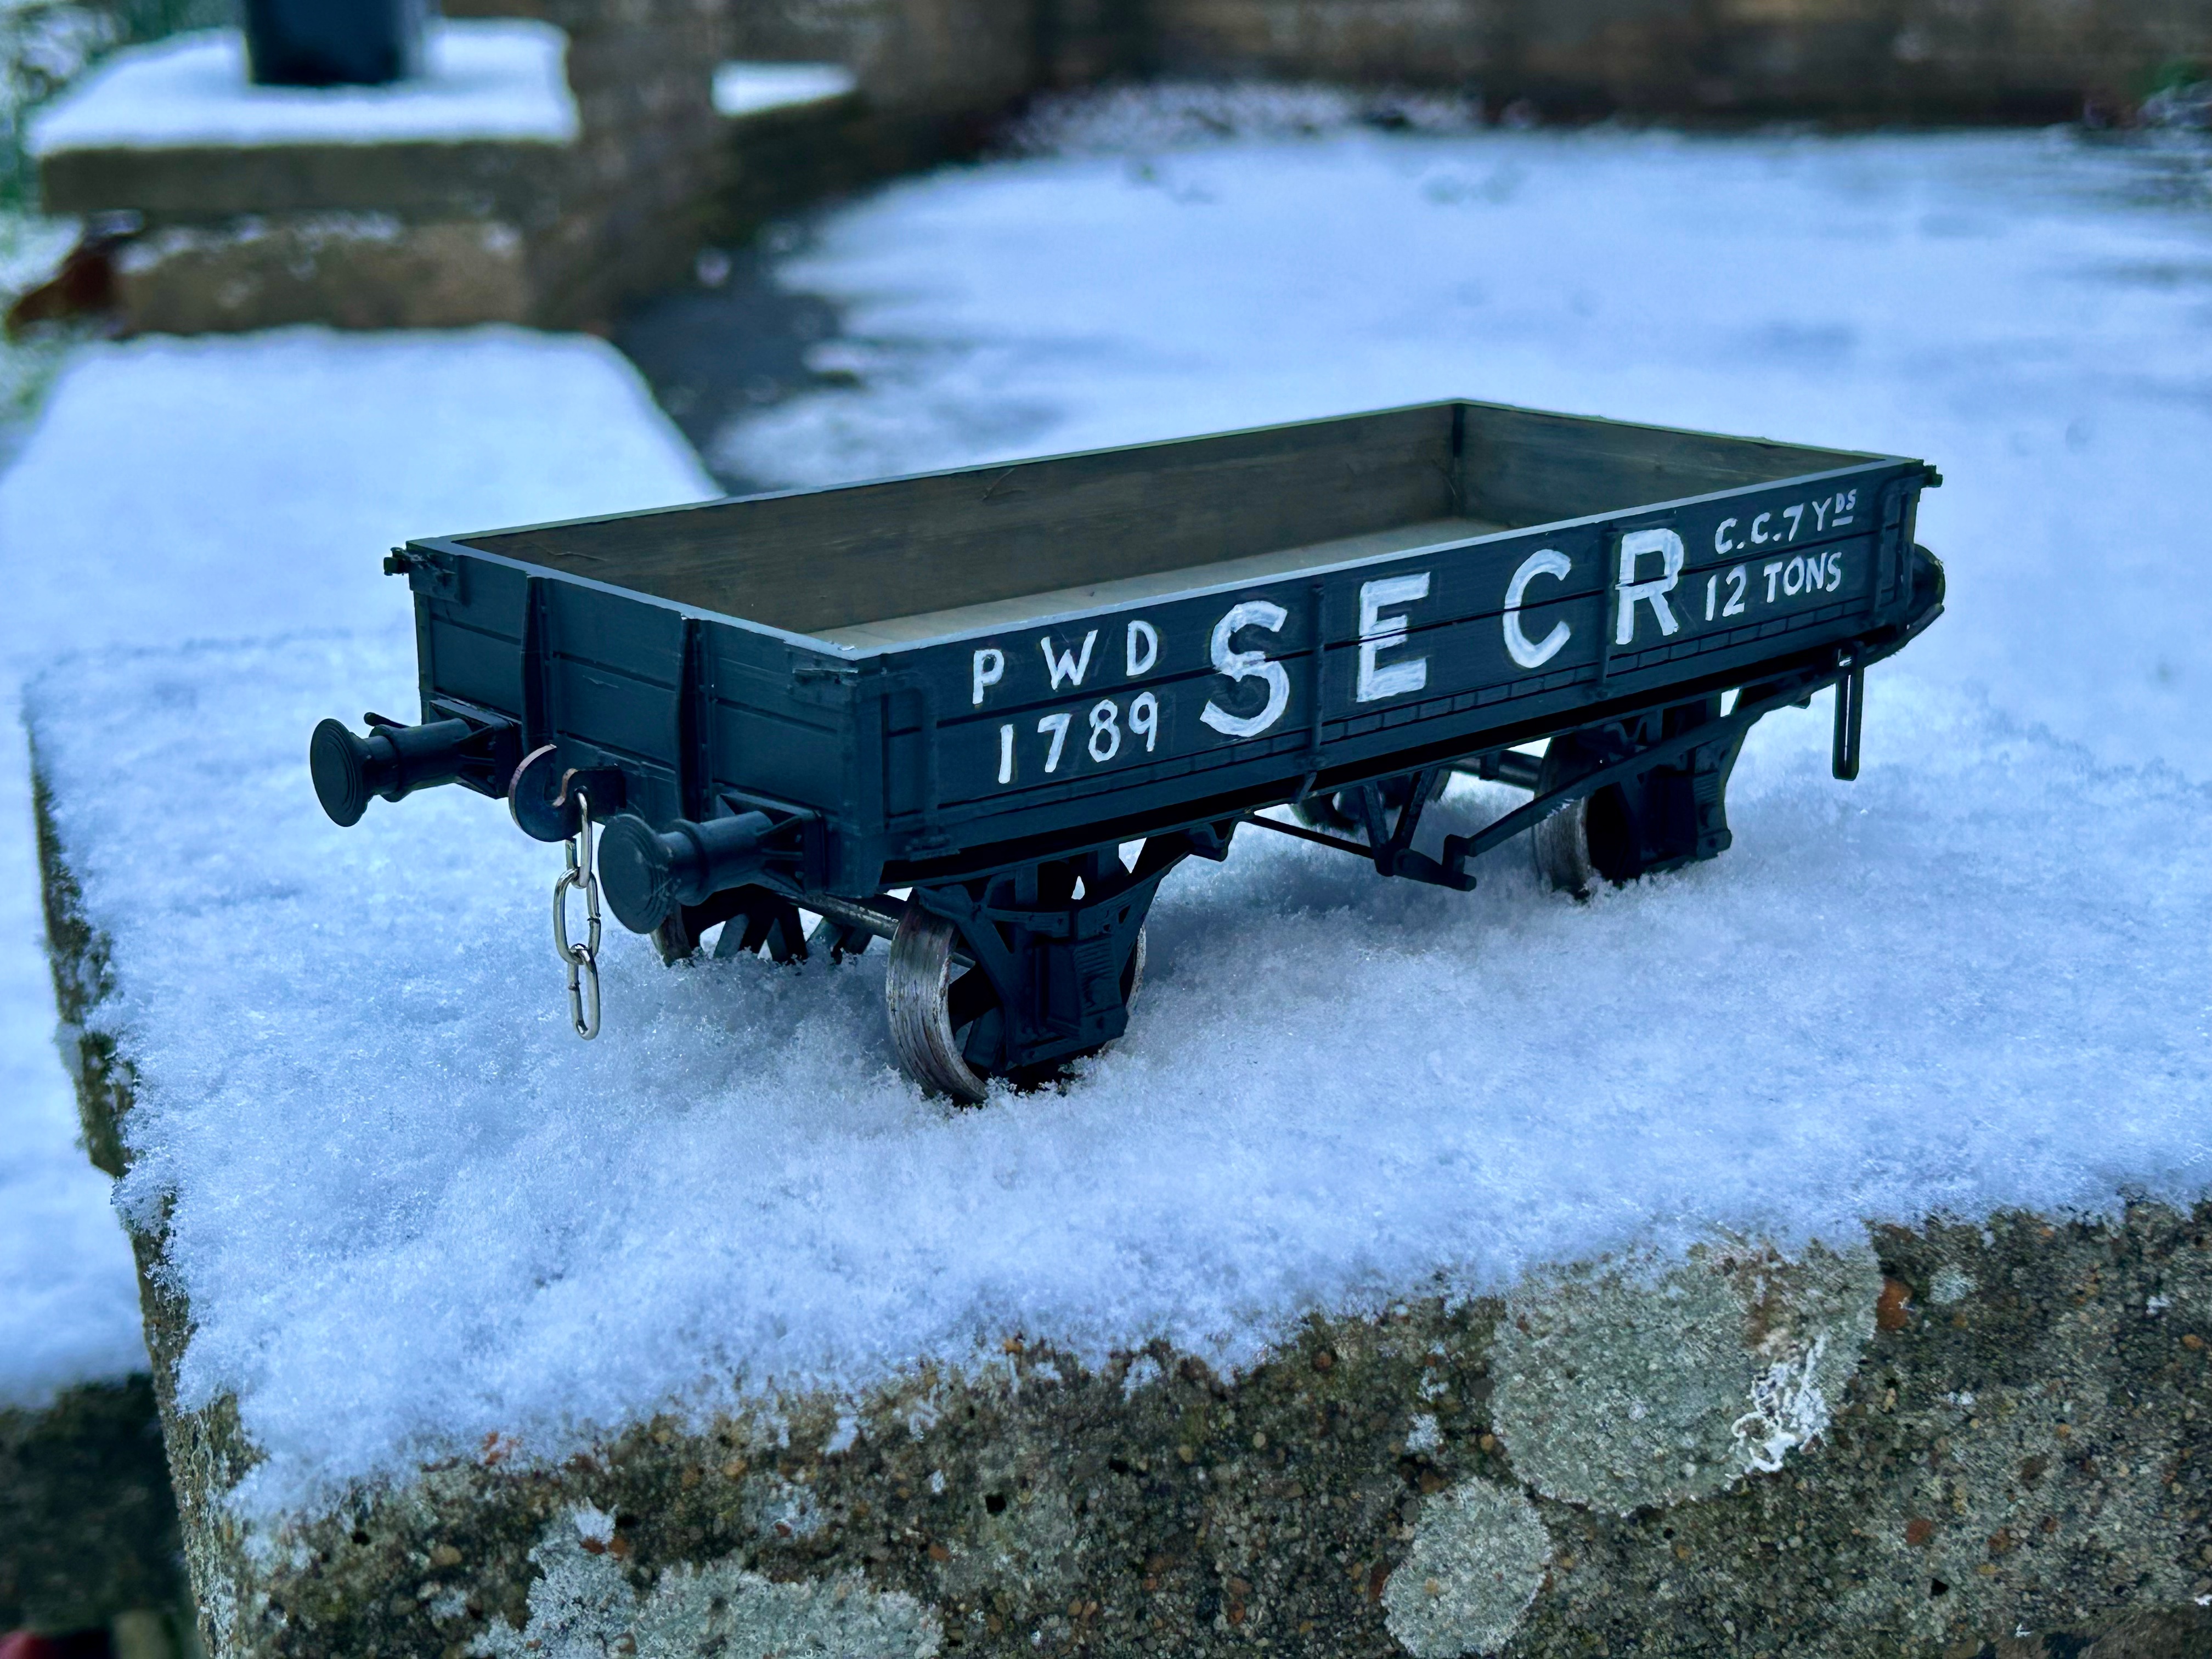
Since I had two models to produce, I decided to model the early and late versions of the wagon: one in SR engineer’s red with brakes on both sides and spoked wheels, and the other in SECR dark grey with open-spoke wheels and single-sided brakes.
There are many who are fastidious in their replication of colour in models, and I personally think this is a fool’s errand, since colour scales very differently in full size and model forms, to say nothing of surface finish, fading and weathering. As long as I’m broadly internally consistent and use correct markings, I’m quite happy.
SR
Those large sheets did not have transfer film cut to the shape of the underlying letters and numbers, so they needed to be trimmed closely, and with a judicious use of Microsol and Microset to apply. Several coats of fluid later, an overall coat of glossy floor polish to unify the surfaces and provide a resilient surface for washes was applied by brush.
The SR version of this wagon is painted with a mixture of warm red, brown and orange to get close to the SR Engineers red colour, and transferred up with some spares of large G1 sheets I had a while back. The ‘ED’ is harvested from an LMS ‘REFRIGERATED’ marking, which I’m sure I’ll regret in future.
secr
The SECR version of this wagon is painted in a generic dark grey and I have attempted to hand-letter this wagon – while generally I find hand-lettering to be both enjoyable and rewarding, this was absolutely stretching my abilities and further touching up would benefit it.
Final Details
The wagons are fitted with my own design of Maunsell SECR buffers printed solid on the filament printer, Walsall Model Industries sprung coupling hooks.
Finished wagons

Final Thoughts
The wagons still need ballast loads, which I have thoughtfully stowed away somewhere inaccessible.
I think it would be lovely to assemble a full pre-grouping engineering train with a ballast brake, bolster trucks for rail and a steam crane – if anyone has drawings for the latter please do let me know – but all in good time.


You must be logged in to post a comment.