While I’m not a real stickler when it comes to live-steam scale, putting my EE 350hp shunter in 10mm up against a 1/32 Iron Mink is pretty ridicolous – so since the original was made on my old printer without the benefit of PETG printing nor ironing, I thought I’d run it back with a 1/32 version.
One of the distinctive livery features I wanted to capture, despite the relatively short time it’d have worn it – was the wasp-stripe cab and bonnet.
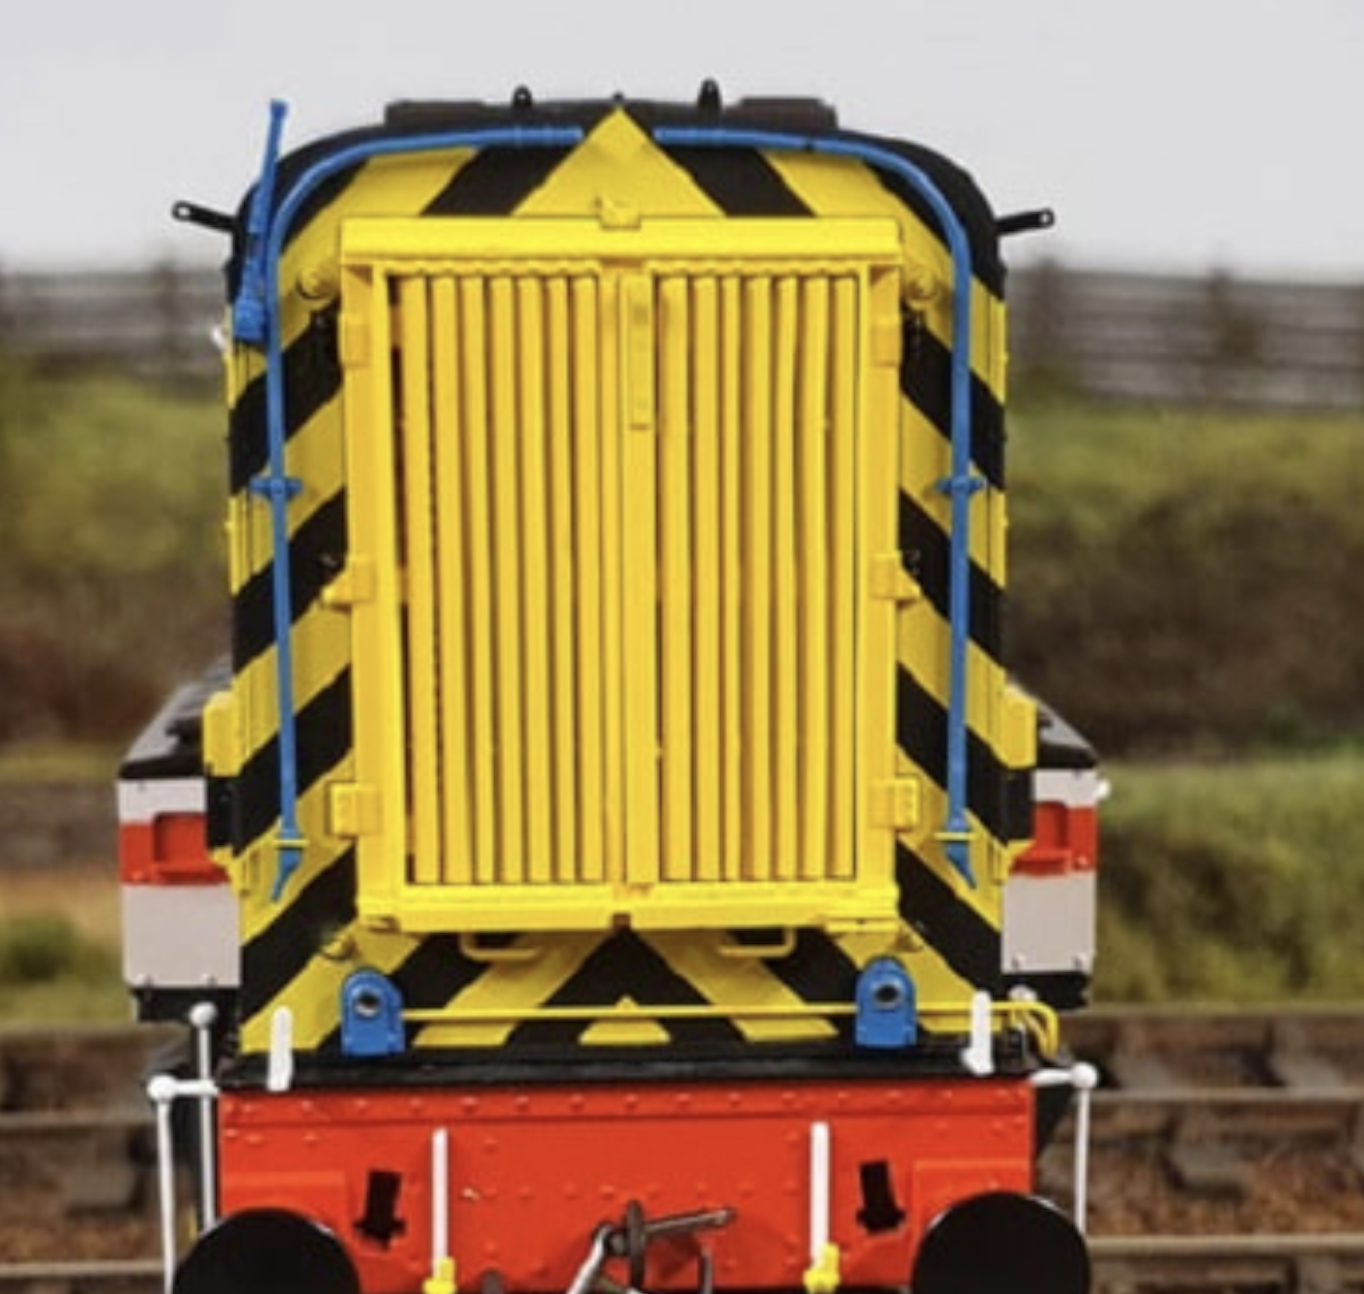
Having been inspired by multi-colour printing on the Project 03 (see groups.io/gaugeone3dcircle) I thought I’d try myself.
Basic STL manipulation
The STL file for the Radiator already exists on G1-3D.uk and I was fortunate enough to be able to convert it to a parametric body in Fusion360 without many issues.
The workflow for this conversion was relatively straightforward. The first act was to split the body along the front face of the main radiator cover body – slicing away the grille, lights and pipes for separate printing.
Wasp Stripes
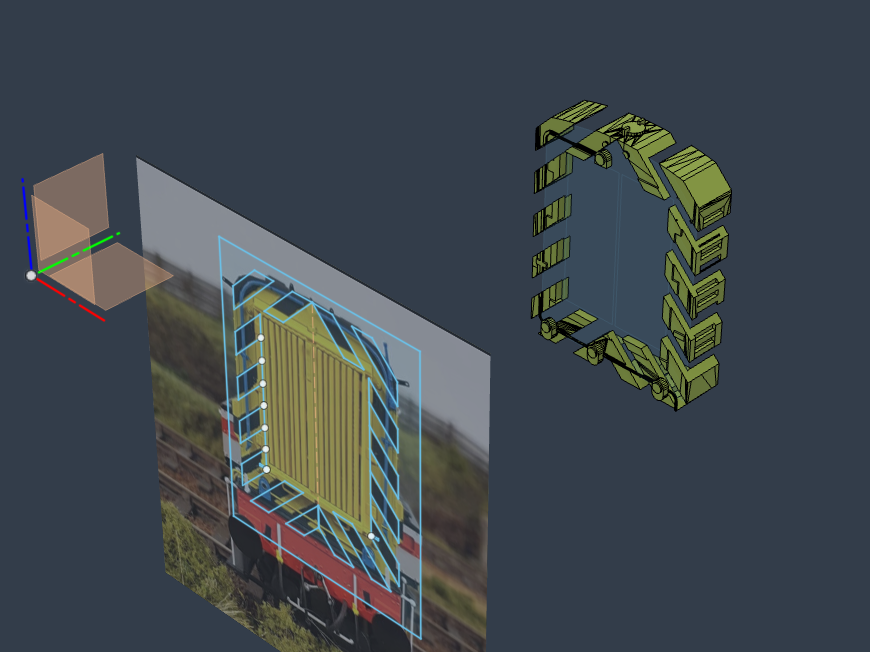
To create the wasp-stripes themselves I used this process
- Import and scale a photograph as a canvas to assist the angle/width of the wasp stripes
- Create a sketch based on those stripes
- Dupilicate the original radiator body
- Extrude the sketch into one of the bodies with ‘Intersect’ (which gives a positive)
- Extrude the sketch into the other body with ‘cut’ (which gives a negative)
There was a little finessing required – for example, the coolant pipes are integrated with the radiator itself, which being long, thin, unsupported cylinders are rather difficult to print.
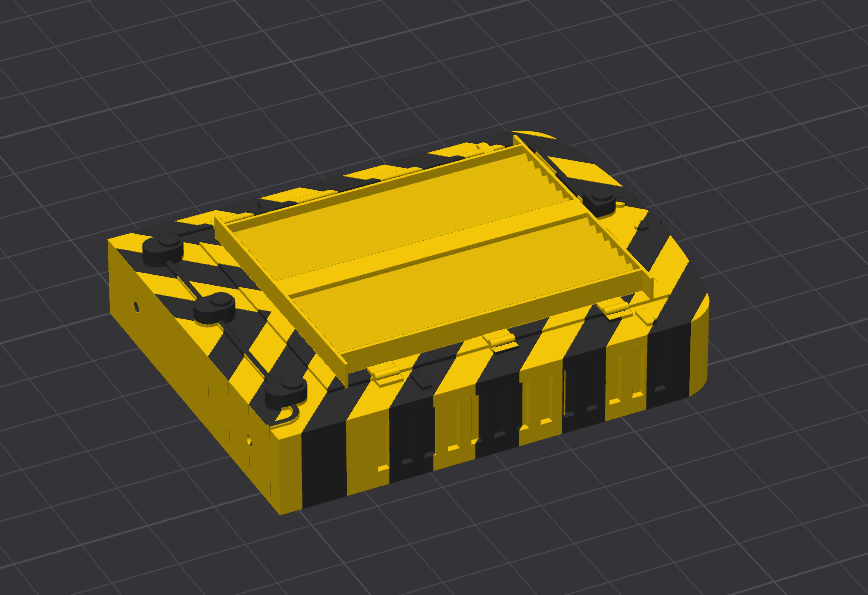
When you import more than one file simultaneously into BambuStudio, you are prompted to confirm if these are multiple parts of the same component – and if so, you are able to set their filament properties independently. In this case, I set the yellow components to yellow, and black to black.
The print went perfectly, as can be seen below – but I ran out of yellow filament!
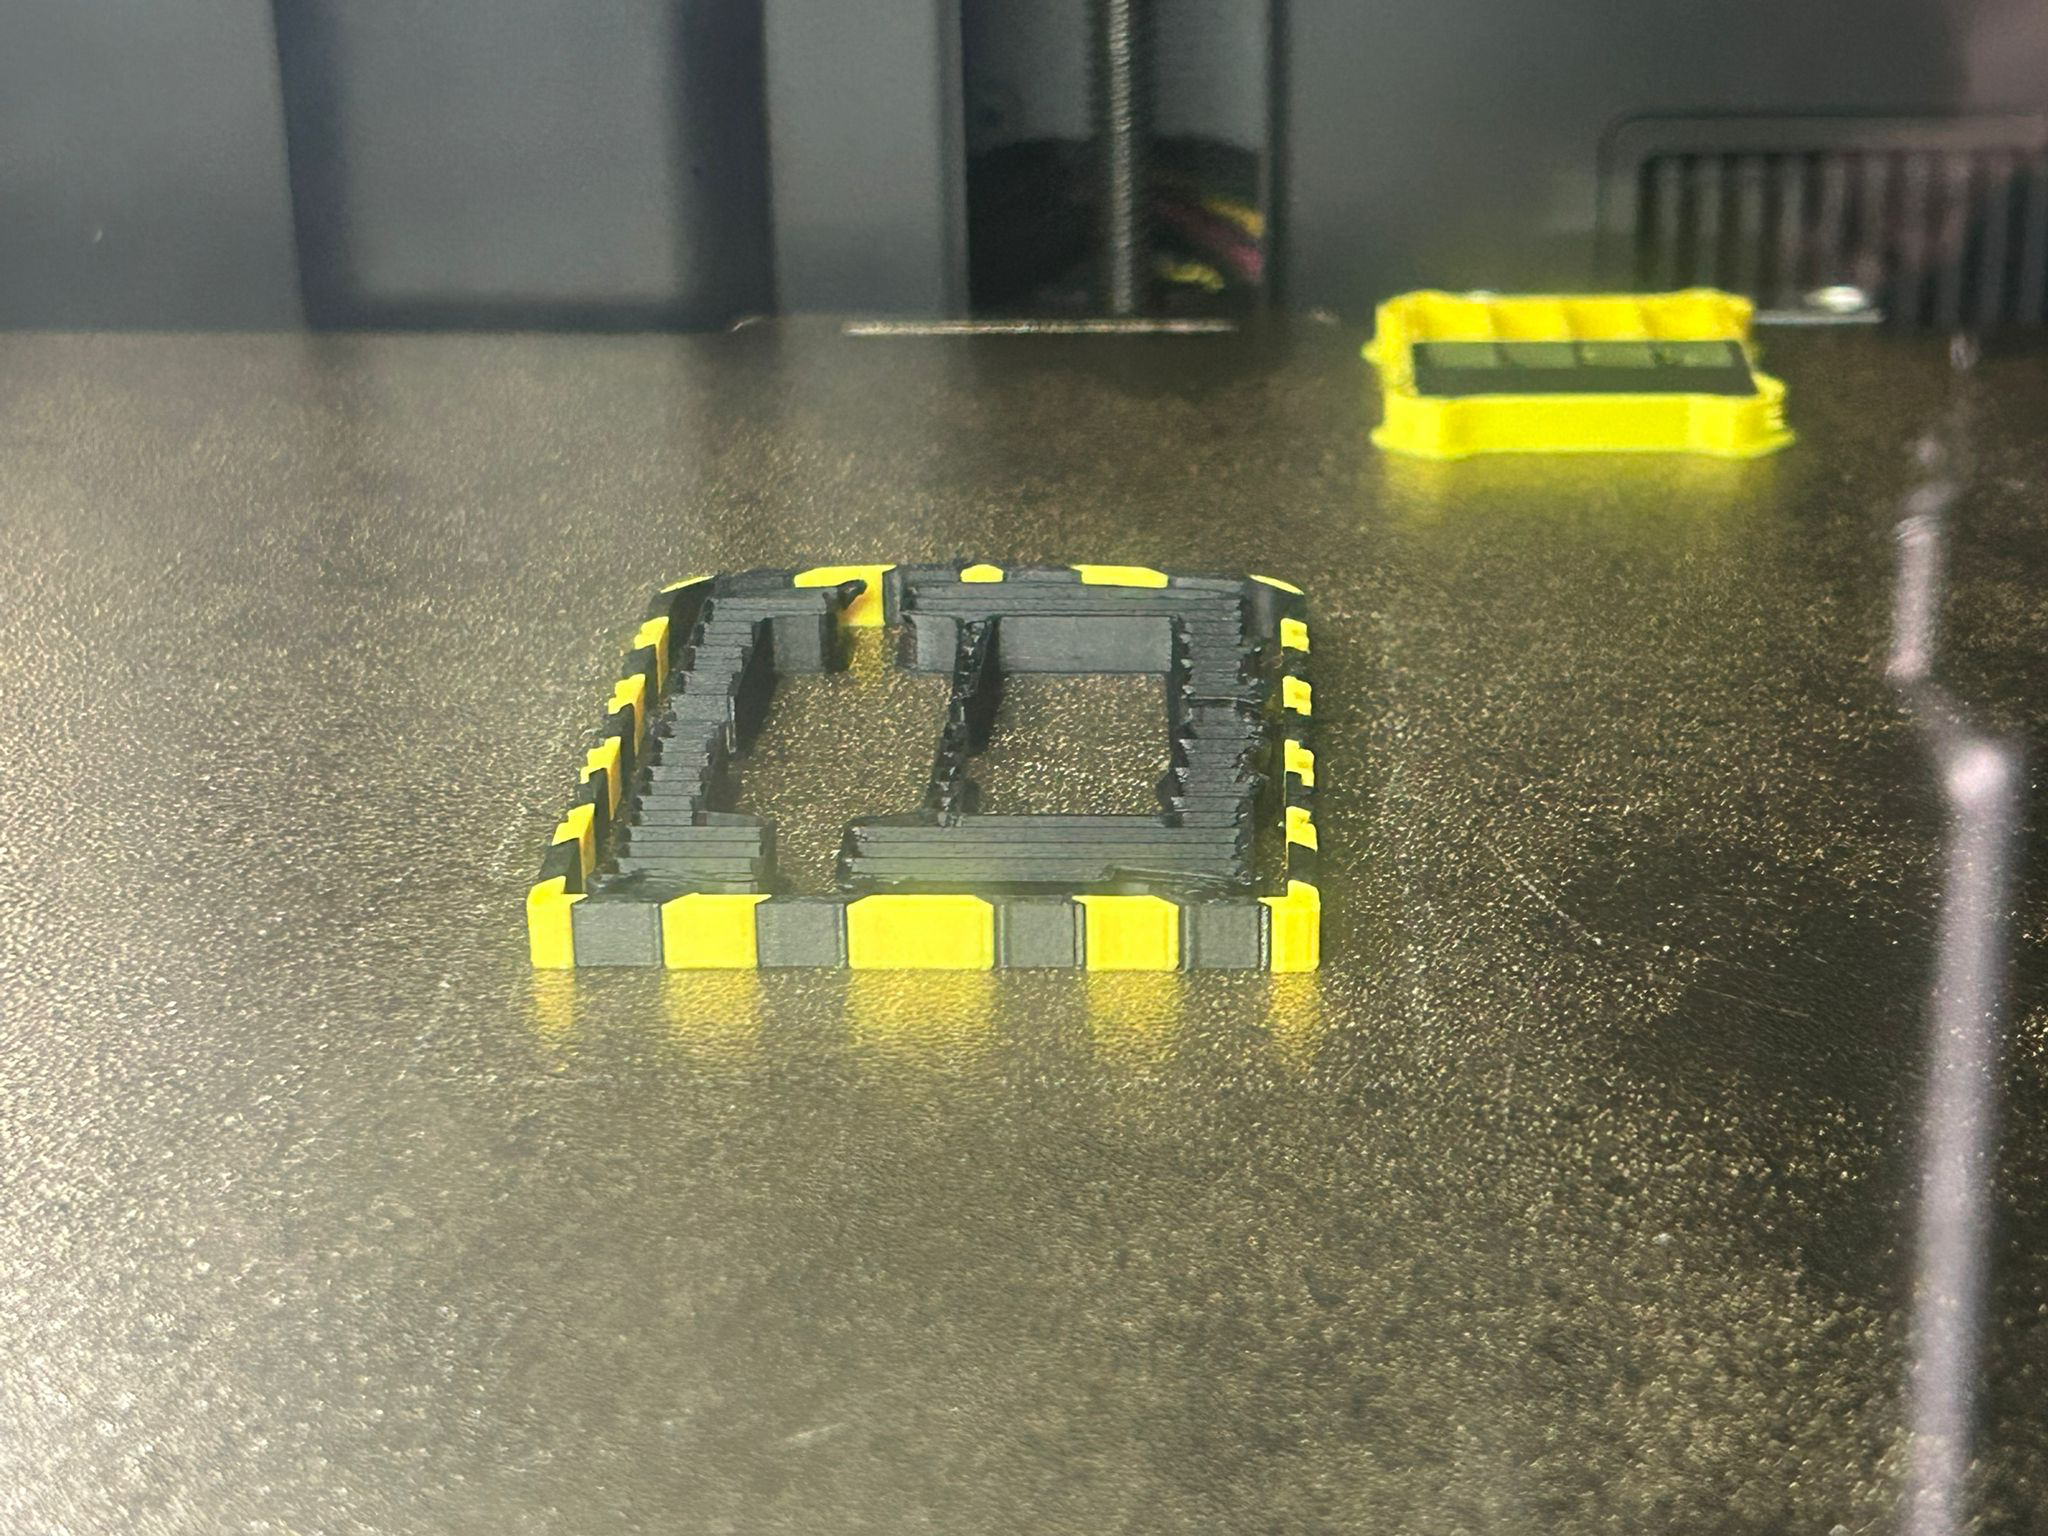
The somewhat sad state of affairs for G1 modellers is that despite the cost of buying and shipping a kilogram of filament, it’s actually cheaper than buying transfers – and then you have 950g of filament left to use!
Anyway, I now await a refill to continue this project.


You must be logged in to post a comment.